
How to Create a Simple Portfolio Website
Build a professional portfolio website using only GitHub Codespaces and Cloudflare Pages. This tutorial requires no software downloads and costs only the price of a domain name.
Why Create a Portfolio Website?
A portfolio website showcases your work to potential employers and clients. It demonstrates your web development skills and establishes your online presence as a developer.
Why Not Use a Website Builder?
Website builders limit your control and learning potential. Building from scratch gives you complete freedom and valuable development experience.
Steps to Complete:
Step 1: Create a GitHub Repository
Create a GitHub Account
GitHub stores and shares your code. Create an account if you don't have one.
Create a GitHub Repository
Create a new repository titled portfolio-website:
- Select Private repository (can be made public later)
- Don't create a README (we'll add one later)
- Click "Create repository"
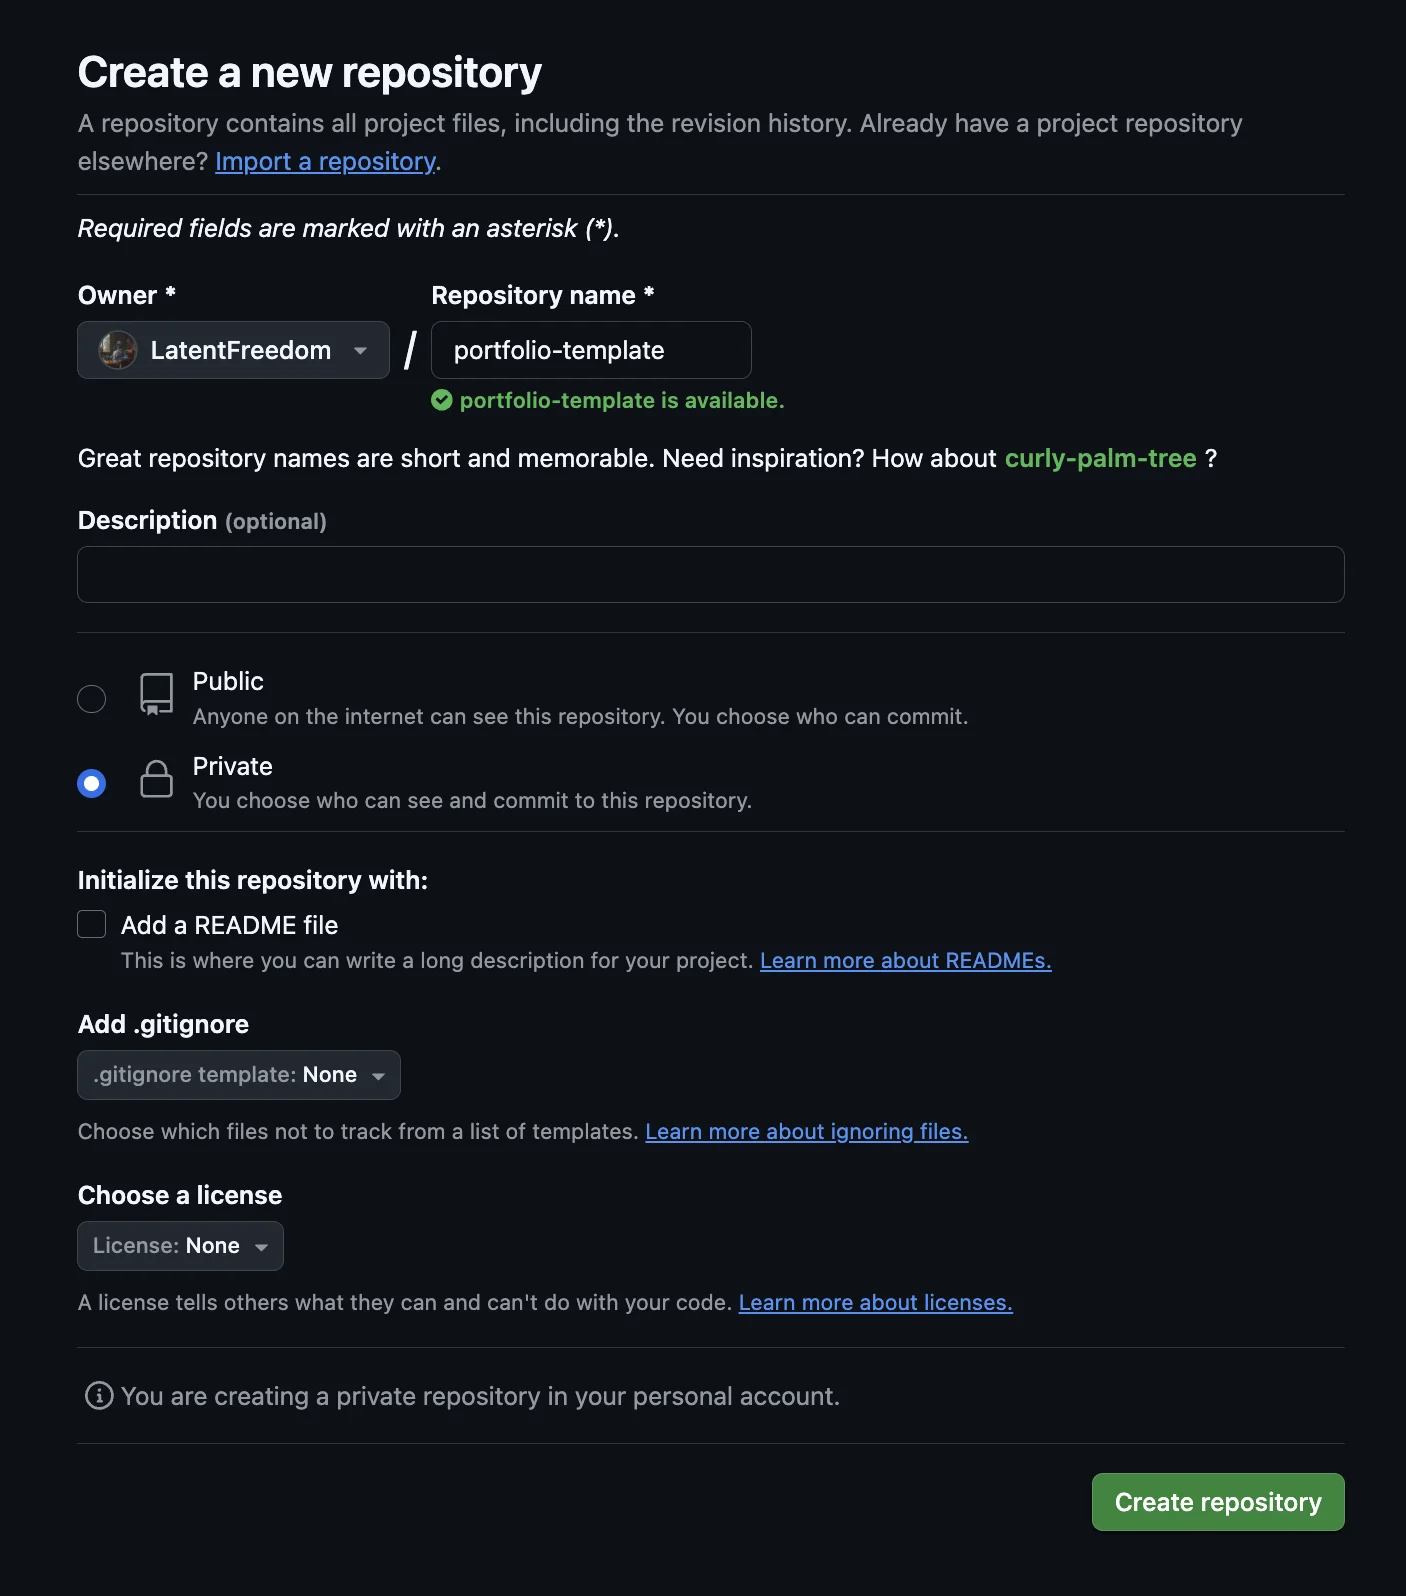
Screenshot: GitHub repository creation form
Step 2: Use GitHub Codespaces
GitHub Codespaces provides a full Visual Studio Code environment in your browser.
Open Your Repository in Codespaces
- Navigate to your repository on GitHub
- Click the green "Code" button
- Select the "Codespaces" tab
- Click "Create codespace on main"
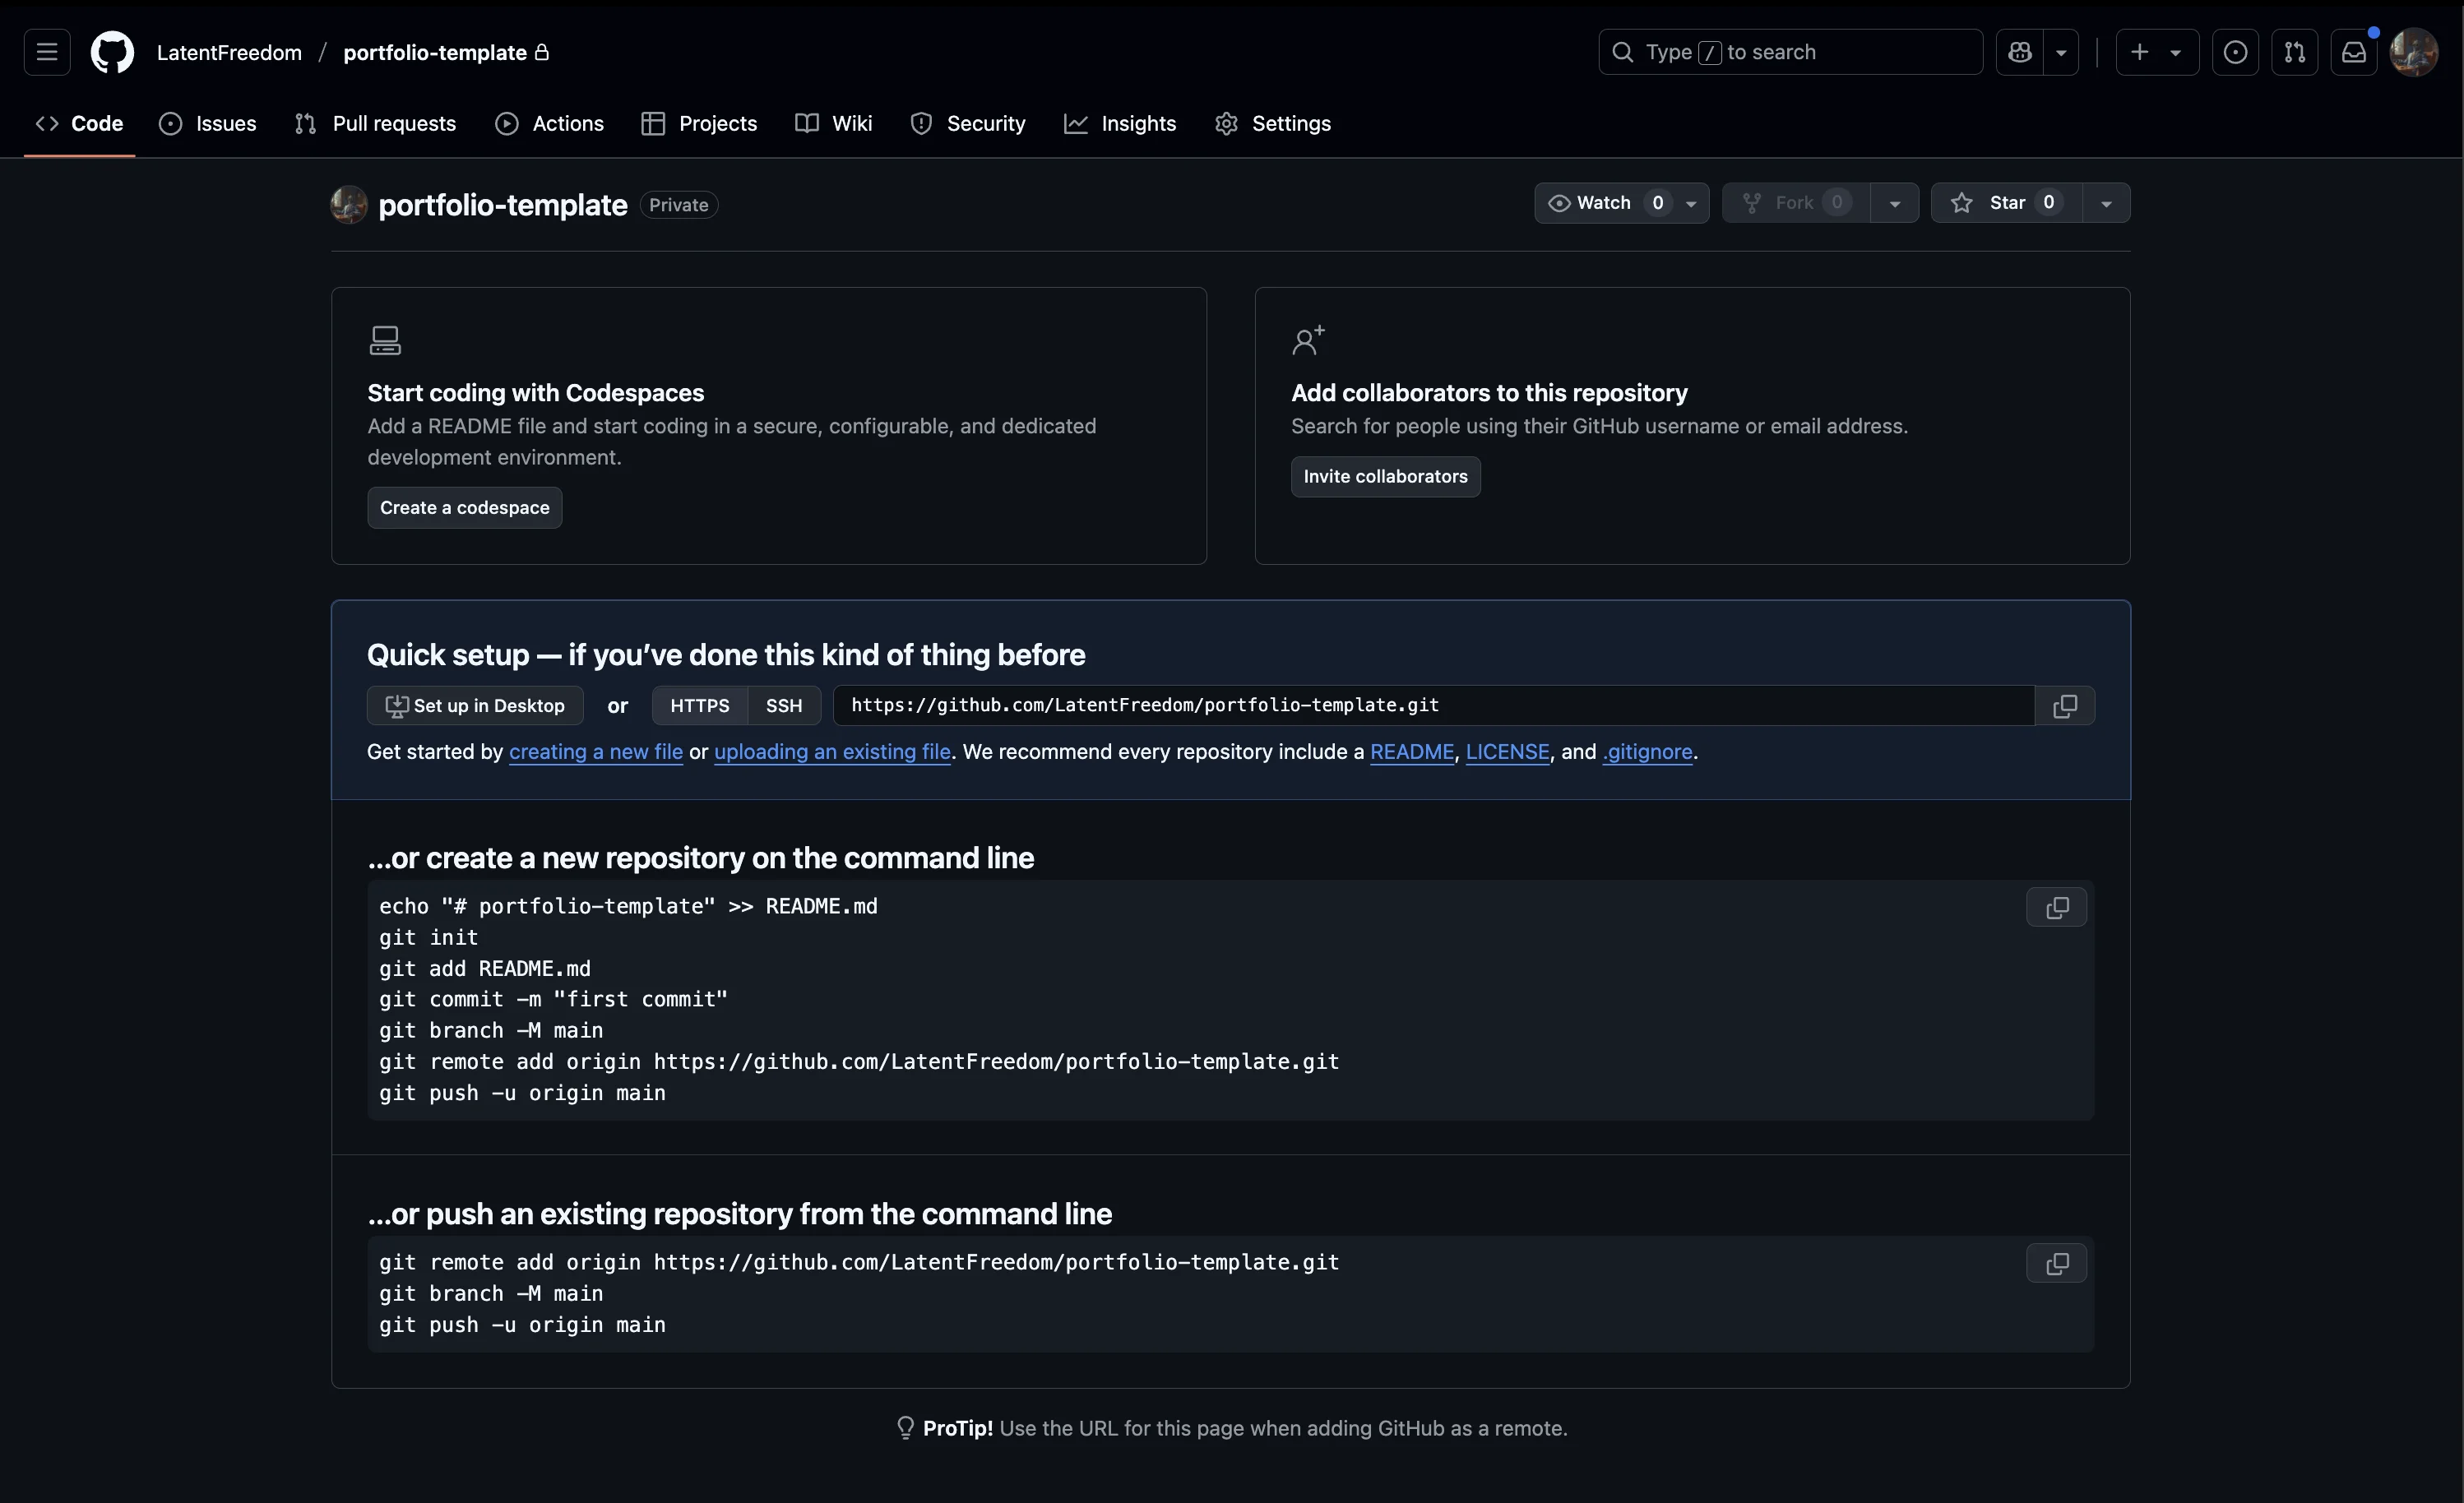
Screenshot: GitHub Codespaces button location
The environment includes Visual Studio Code interface, integrated terminal, file explorer, and live preview capabilities.
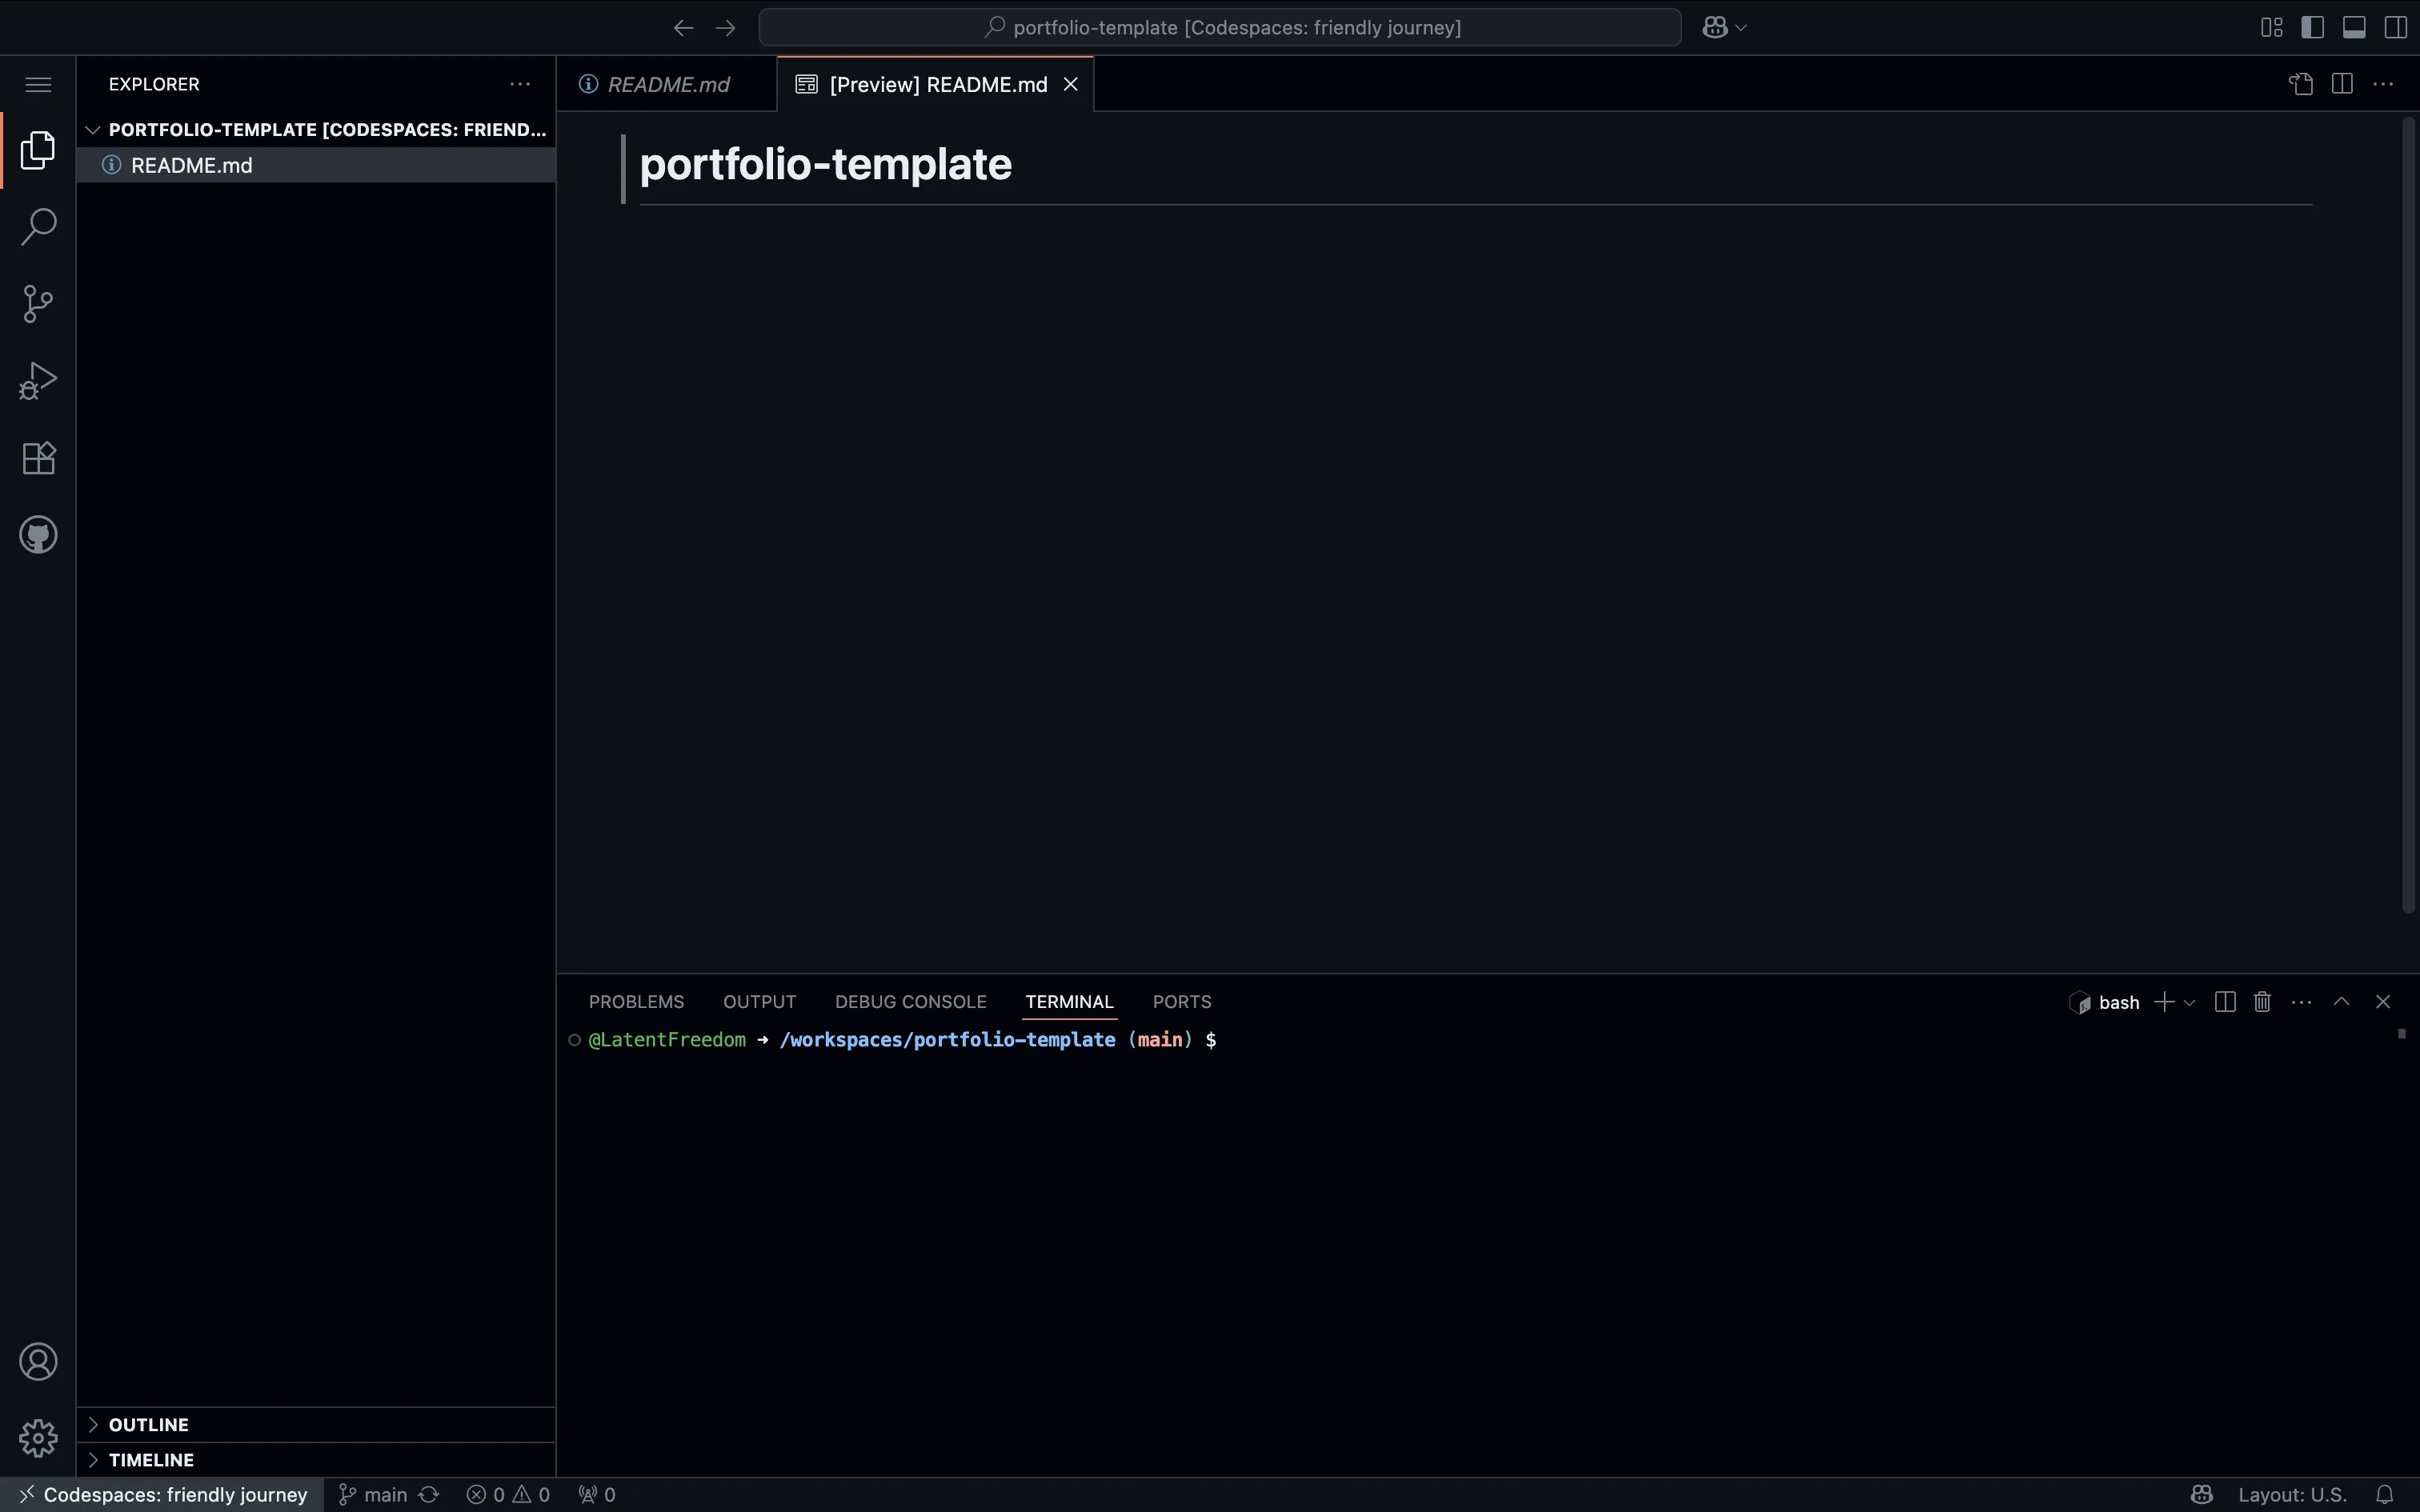
Screenshot: GitHub Codespaces development interface
Step 3: Build Your Portfolio Website
Create a professional portfolio using HTML and CSS in a single file.
Create Your Portfolio File
- Right-click in the file explorer panel
- Select "New File" and name it
index.html

Screenshot: Creating index.html file in Codespaces
Get the Portfolio Code
Use my complete portfolio template:
To use this template:
- Visit the repository link above
- Click on the
index.htmlfile - Click the "Copy raw contents" button (looks like a clipboard)
- Paste the code into your
index.htmlfile in Codespaces
Screenshot: Copying raw contents from GitHub repository
Customize Your Content
Personalize your portfolio:
- Add your actual name
- Add social media links
- Write an "About Me" section
- Customize colors in the CSS
Preview Your Website
See your website in action:
- Open terminal in Codespaces (Terminal → New Terminal)
- Run:
python3 -m http.server 8000 - Click "Open in Browser" in the terminal
python3 -m http.server 8000
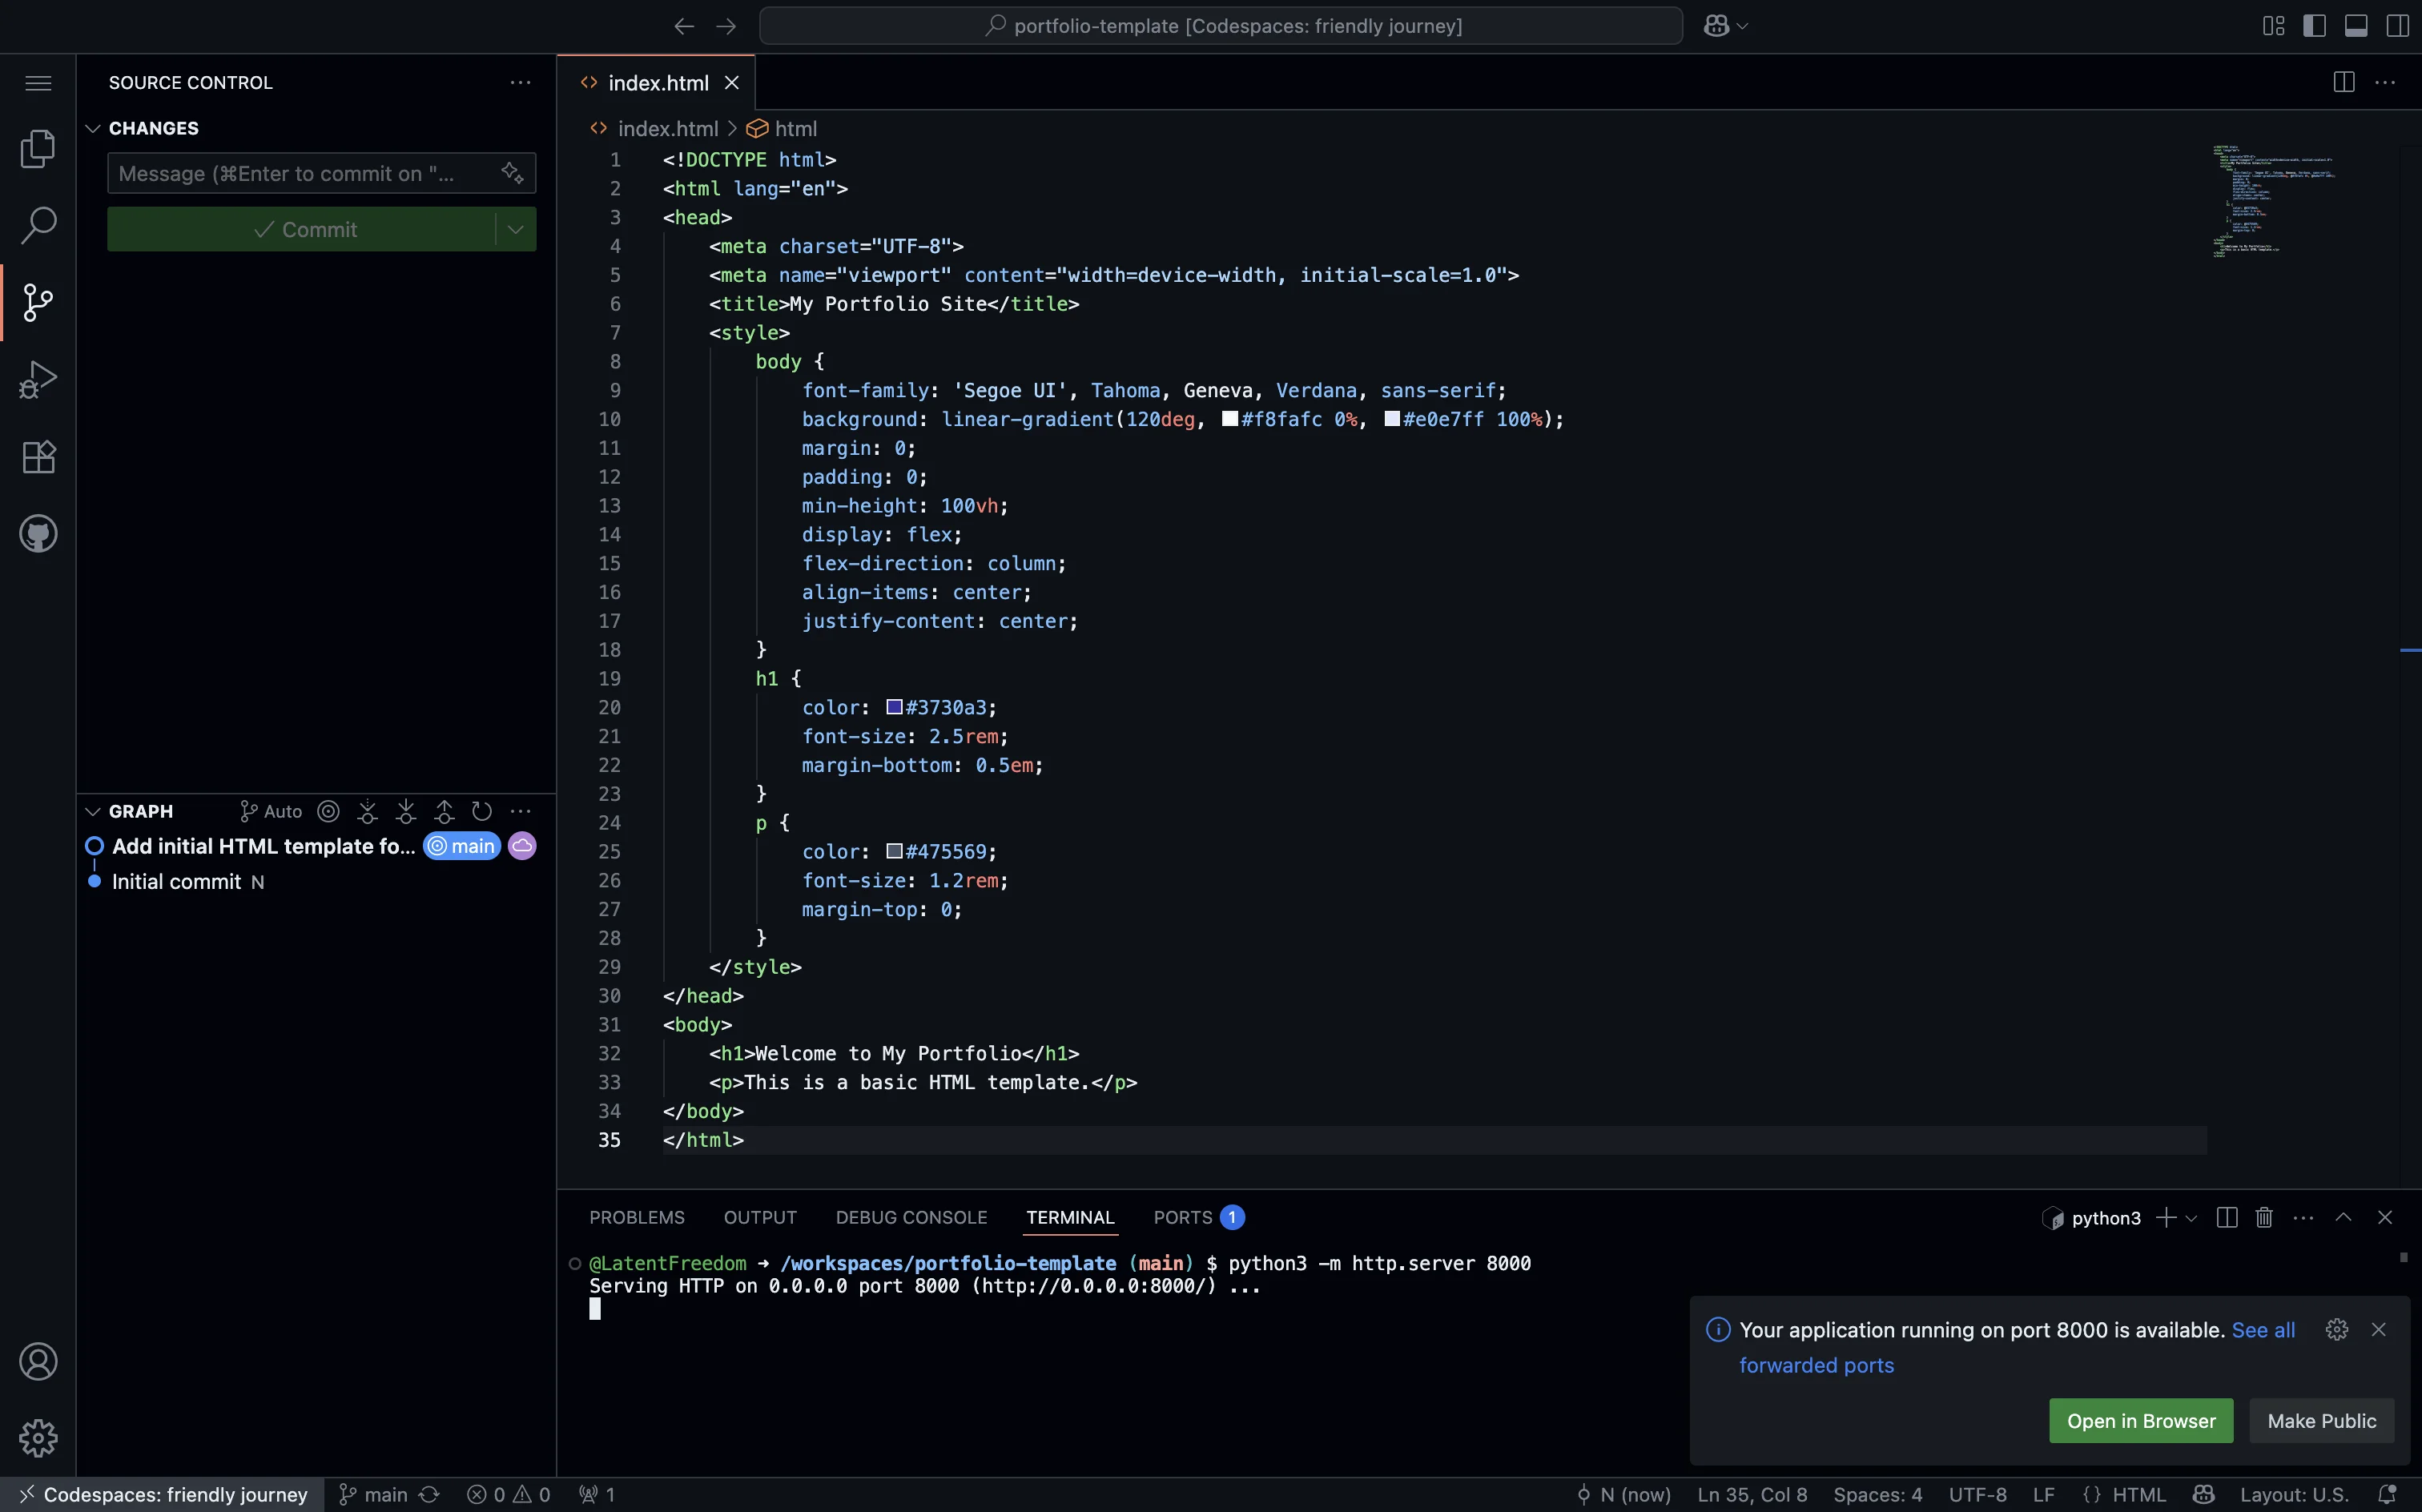
Screenshot: Running Python HTTP server in Codespaces terminal
Your website will be accessible at an obscure url like https://your-codespace-name-username.github.dev:8000/
Tip: If you close the website tab, click the "PORTS" button in the terminal area and click "Open in Browser" for port 8000.
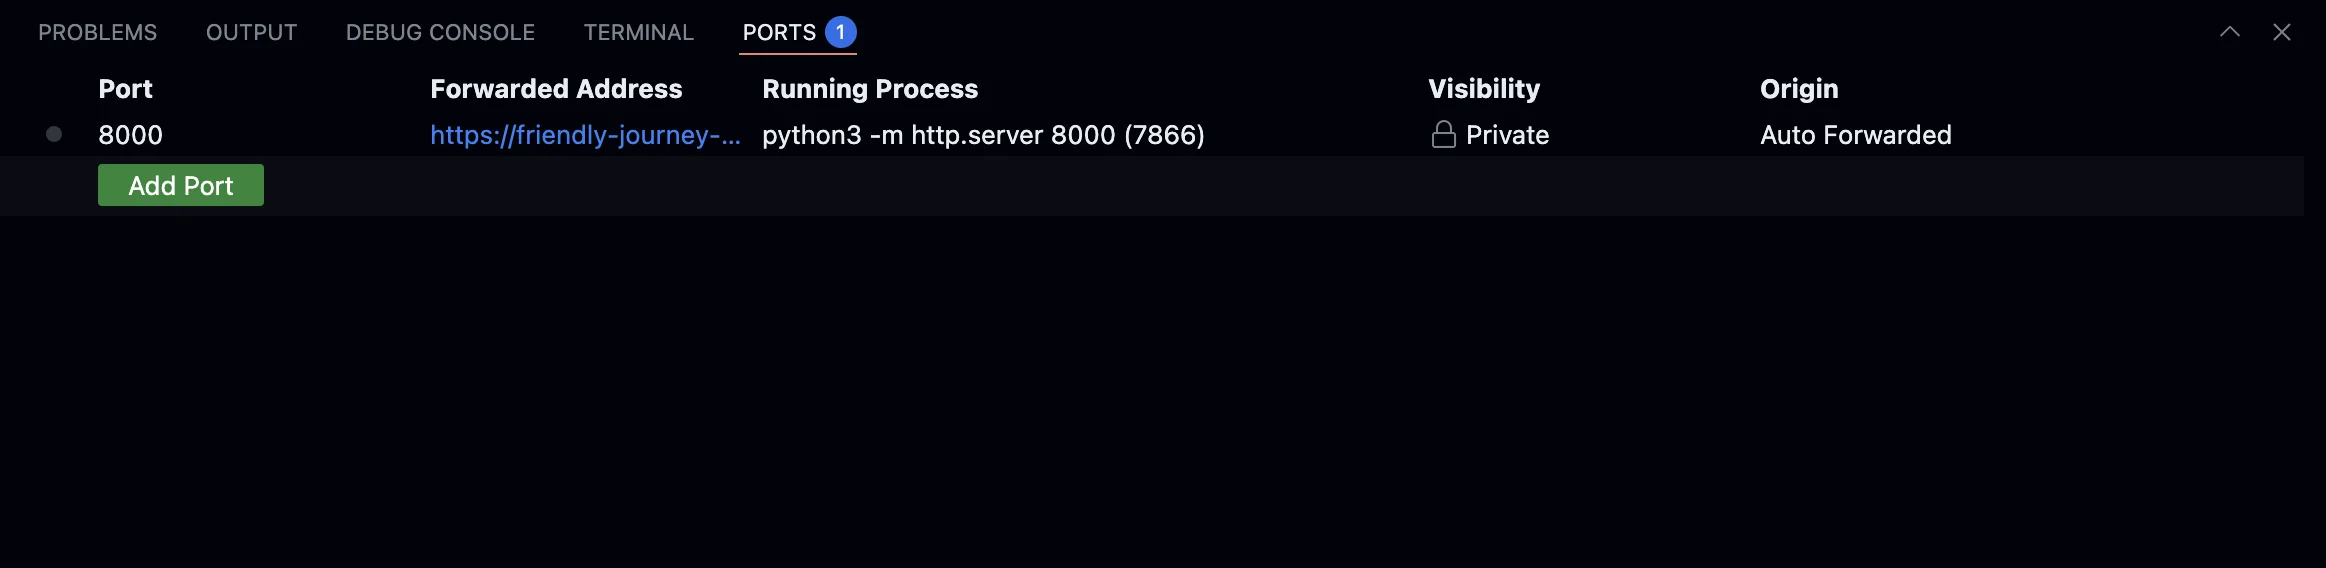
Screenshot: Ports button in Codespaces terminal
Step 4: Commit and Push Your Code
Save your work to GitHub using either the GUI or terminal.
Method 1: Using the Web IDE GUI (Recommended)
The easiest way to commit and push your changes:
- Click the "Source Control" icon in the left sidebar (looks like a branch)
- You'll see your
index.htmlfile listed as "Changes" - Click the "+" button next to the file to stage it
- Type a commit message in the text box (e.g., "Initial portfolio website")
- Click the checkmark button to commit
- Click the "..." menu and select "Push" to upload to GitHub
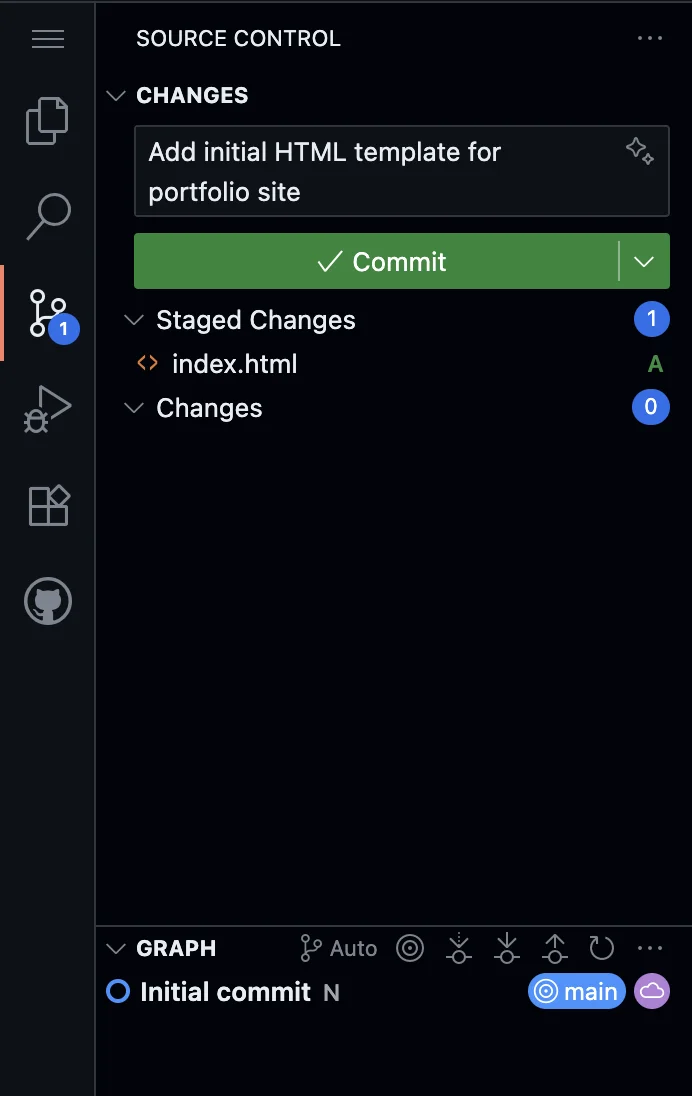
Screenshot: Source Control panel in GitHub Codespaces
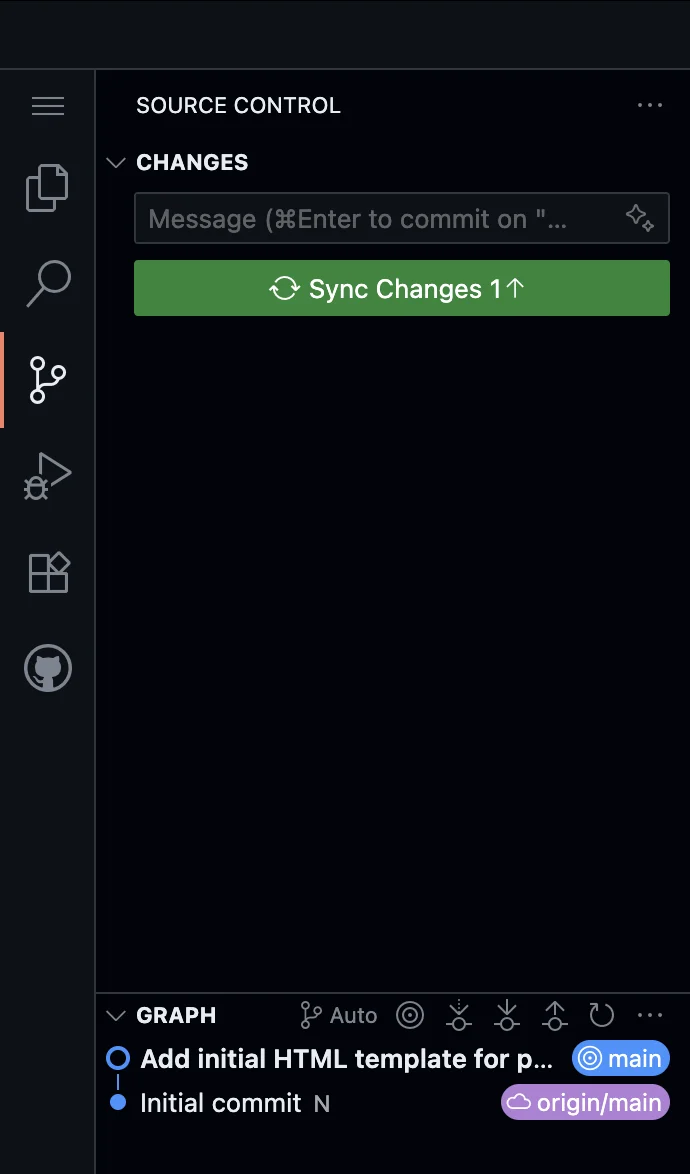
Screenshot: Committing and pushing via GUI
Screenshot: Committing and pushing via GUI 2
Pro Tip: You can use AI to write better commit messages. In the commit message box, try describing what you changed, and GitHub Copilot (if enabled) can suggest a professional commit message.
Method 2: Using the Terminal
If you prefer command line:
-
Add all files to the staging area:
git add .
-
Create a commit with a message:
git commit -m "Initial portfolio website"
-
Push your changes to GitHub:
git push
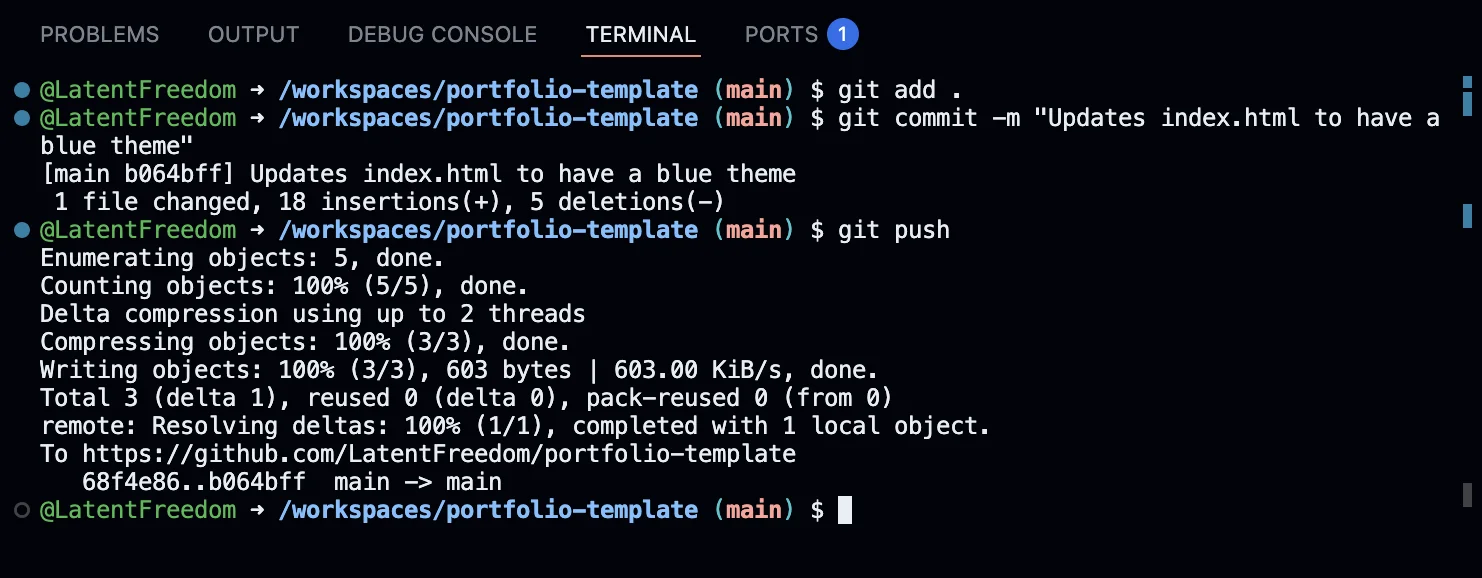
Screenshot: GitHub commit and push process
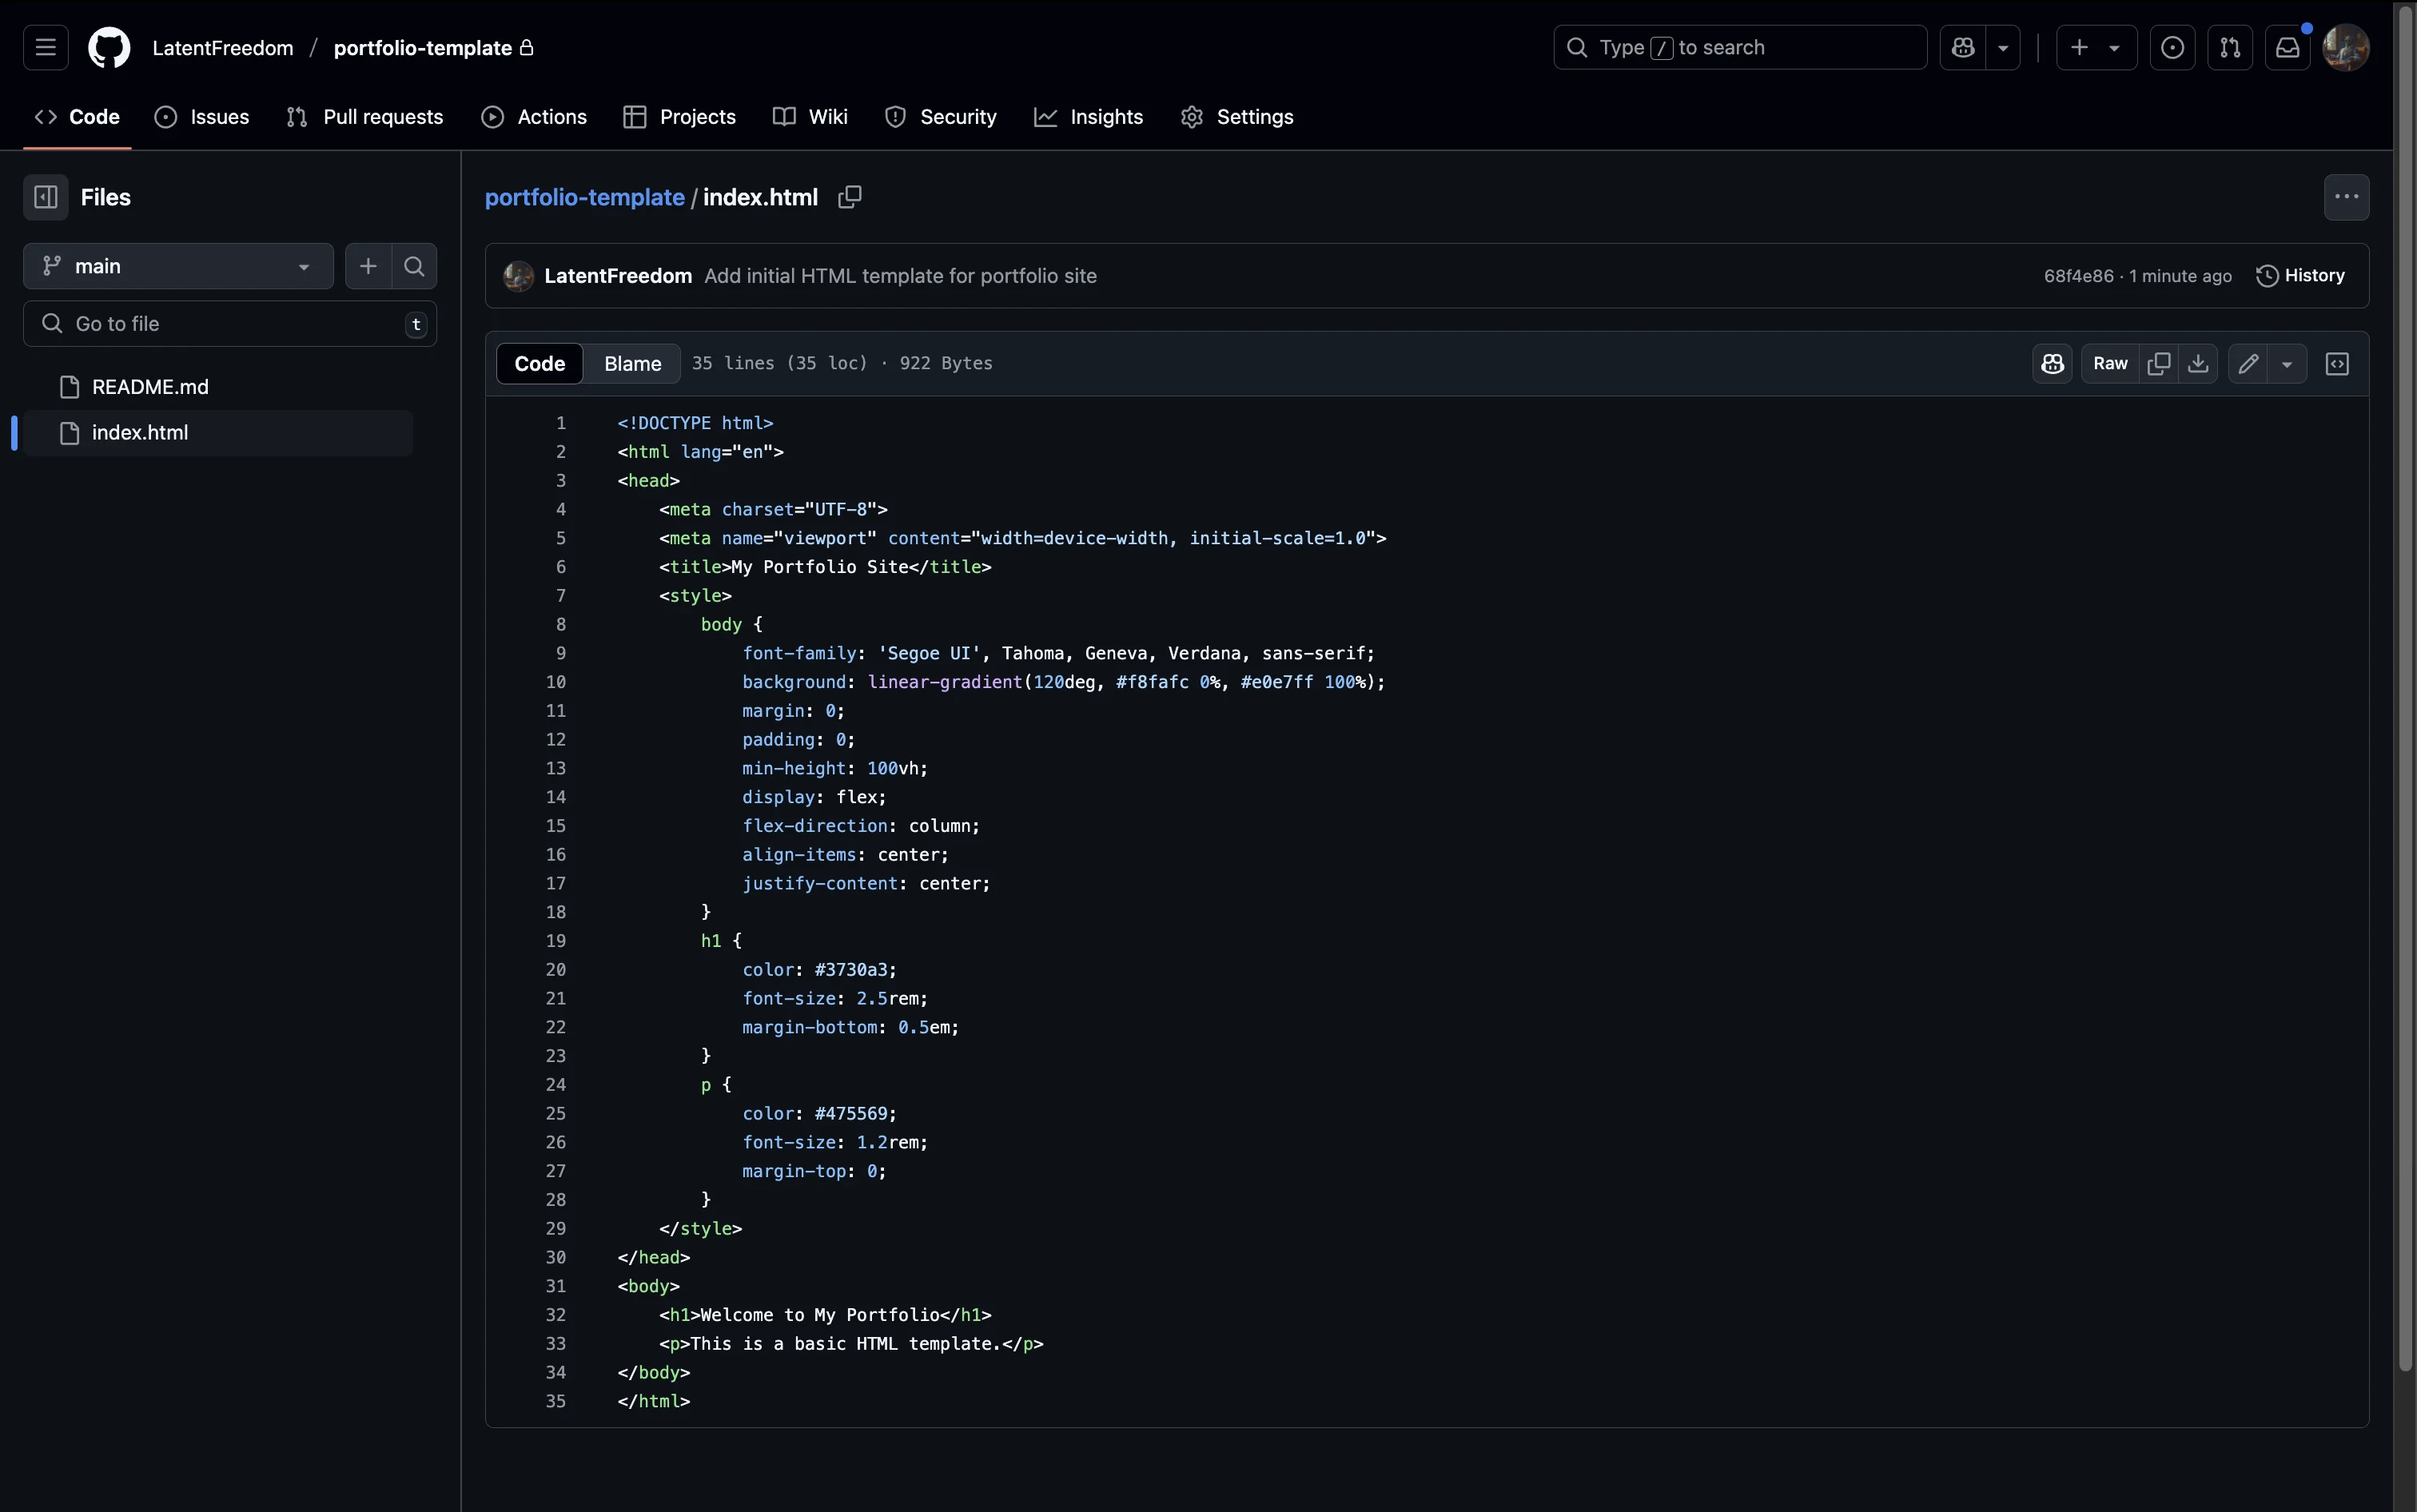
Verify Your Code is on GitHub
After pushing, refresh your GitHub repository page. You should see your index.html file listed. Your code is now safely stored and ready for deployment!
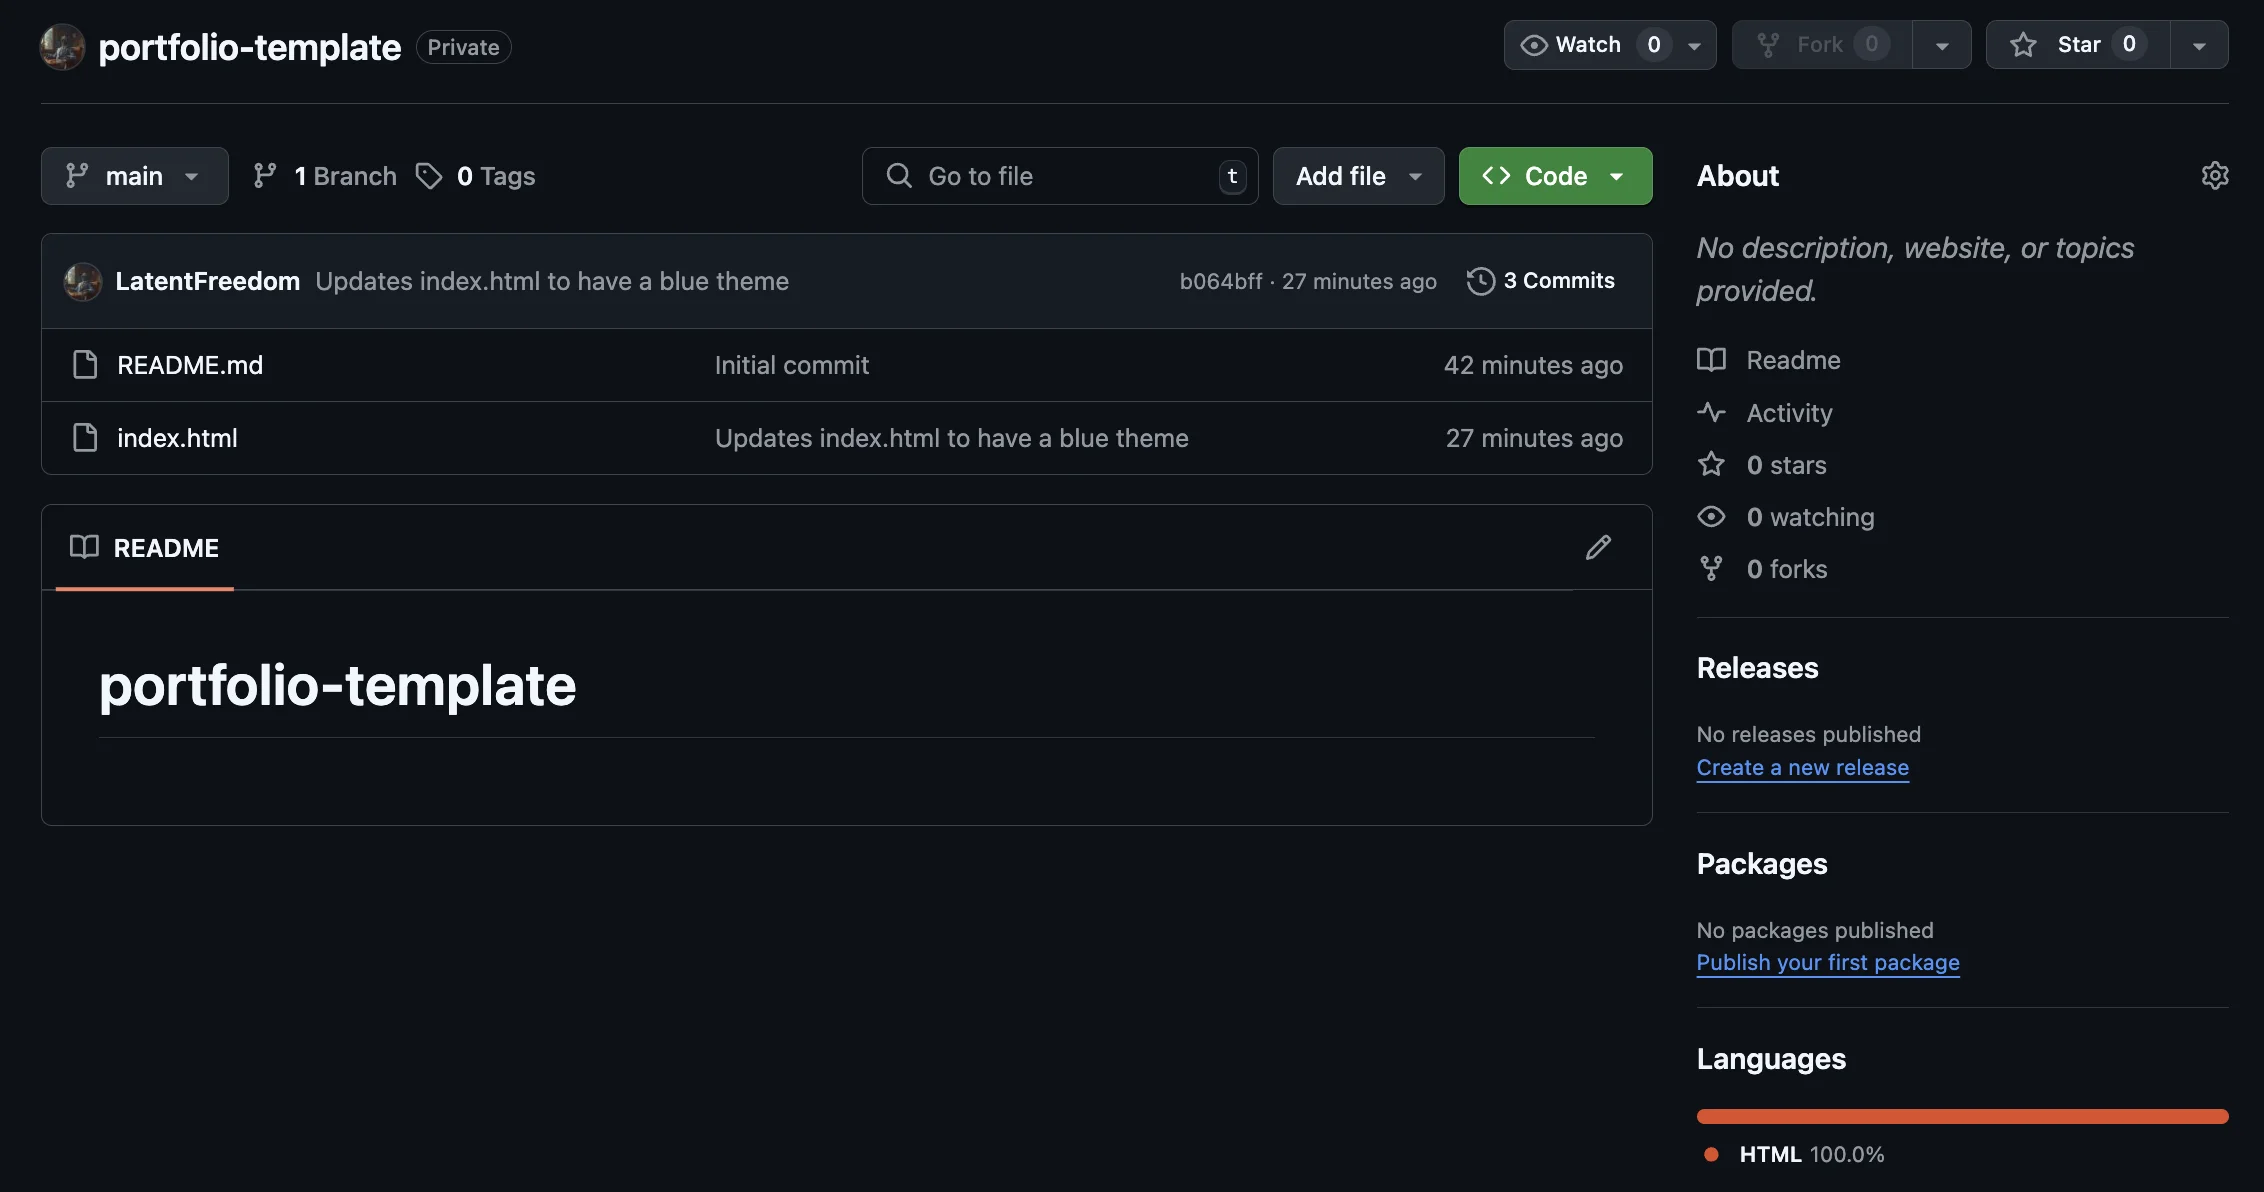
Screenshot: Files visible in GitHub repository
Step 5: Deploy with Cloudflare Pages
Cloudflare Pages automatically deploys your website from GitHub. It's completely free.
Create a Cloudflare Account
- Go to Cloudflare Pages
- Click "Sign up" and create a free account
- Verify your email address
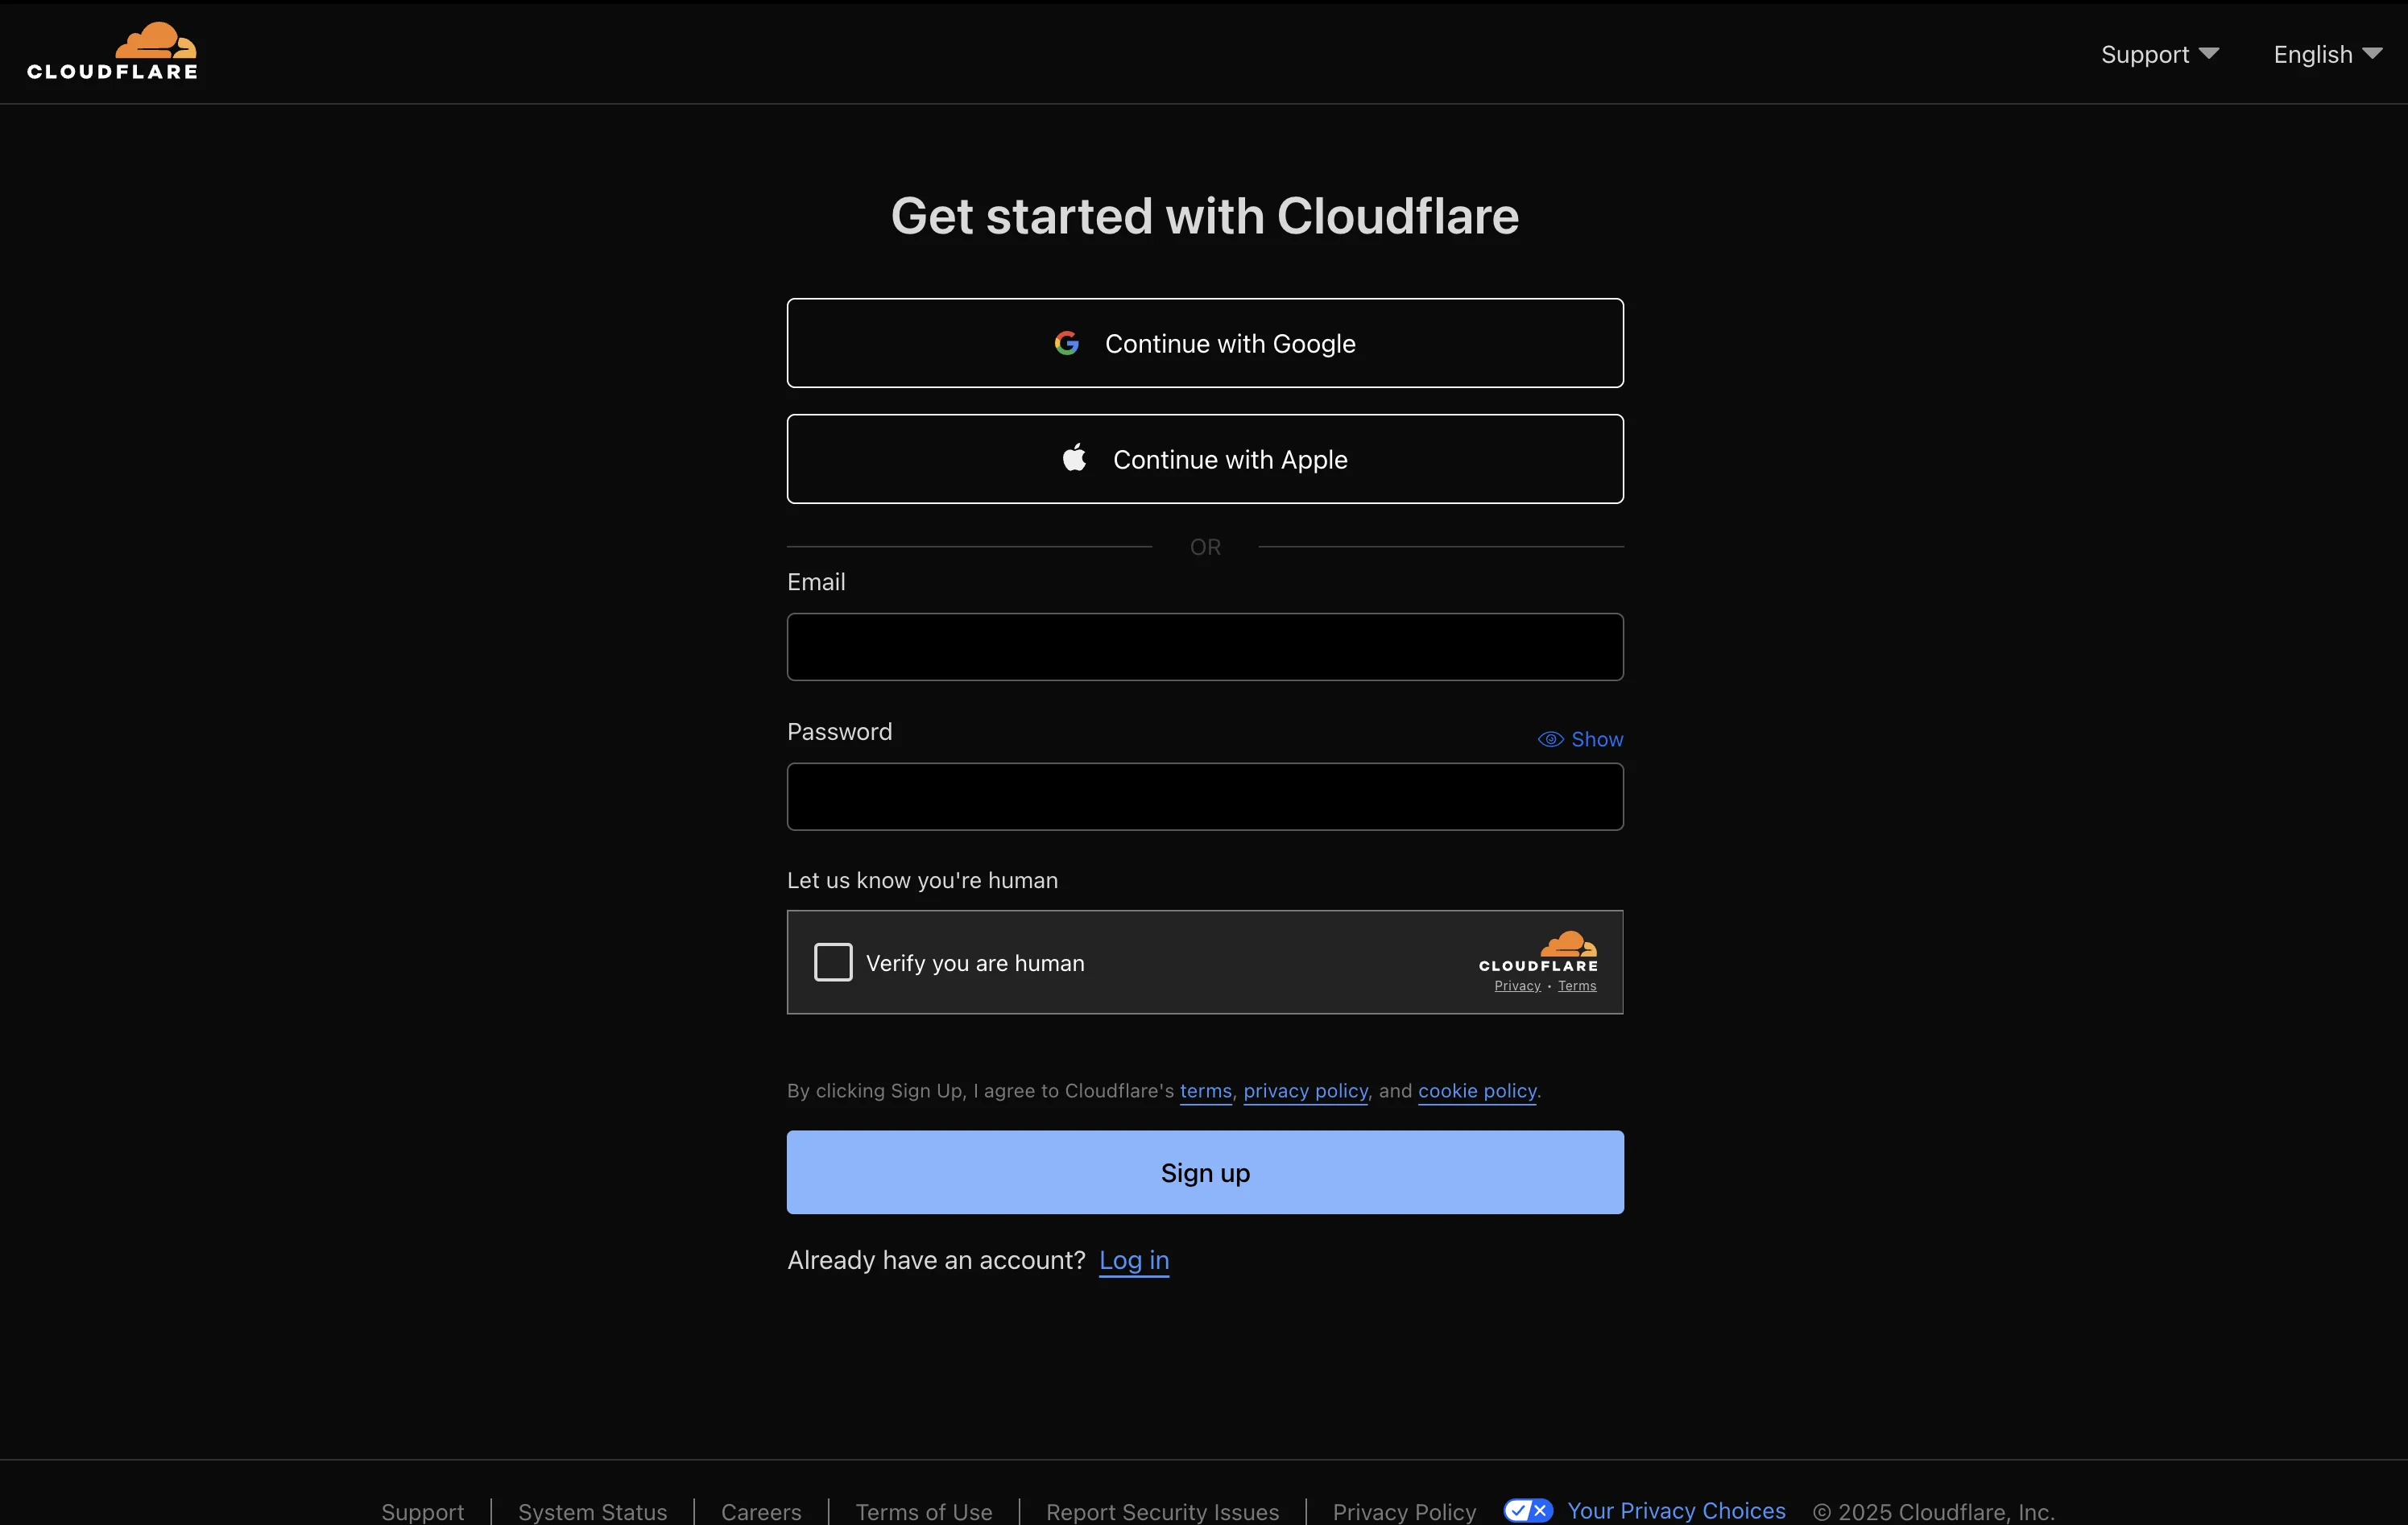
Screenshot: Cloudflare Pages signup page
Connect Your GitHub Repository
- Click "Create a project"
- Select "Connect to Git"
- Choose GitHub as your Git provider
- Authorize Cloudflare to access your GitHub account
- Select your
portfolio-websiterepository
Configure Build Settings
For static websites, use these minimal settings:
- Project name: Choose a name (e.g., "my-portfolio")
- Production branch:
main - Build command: Leave empty
- Build output directory: Leave empty
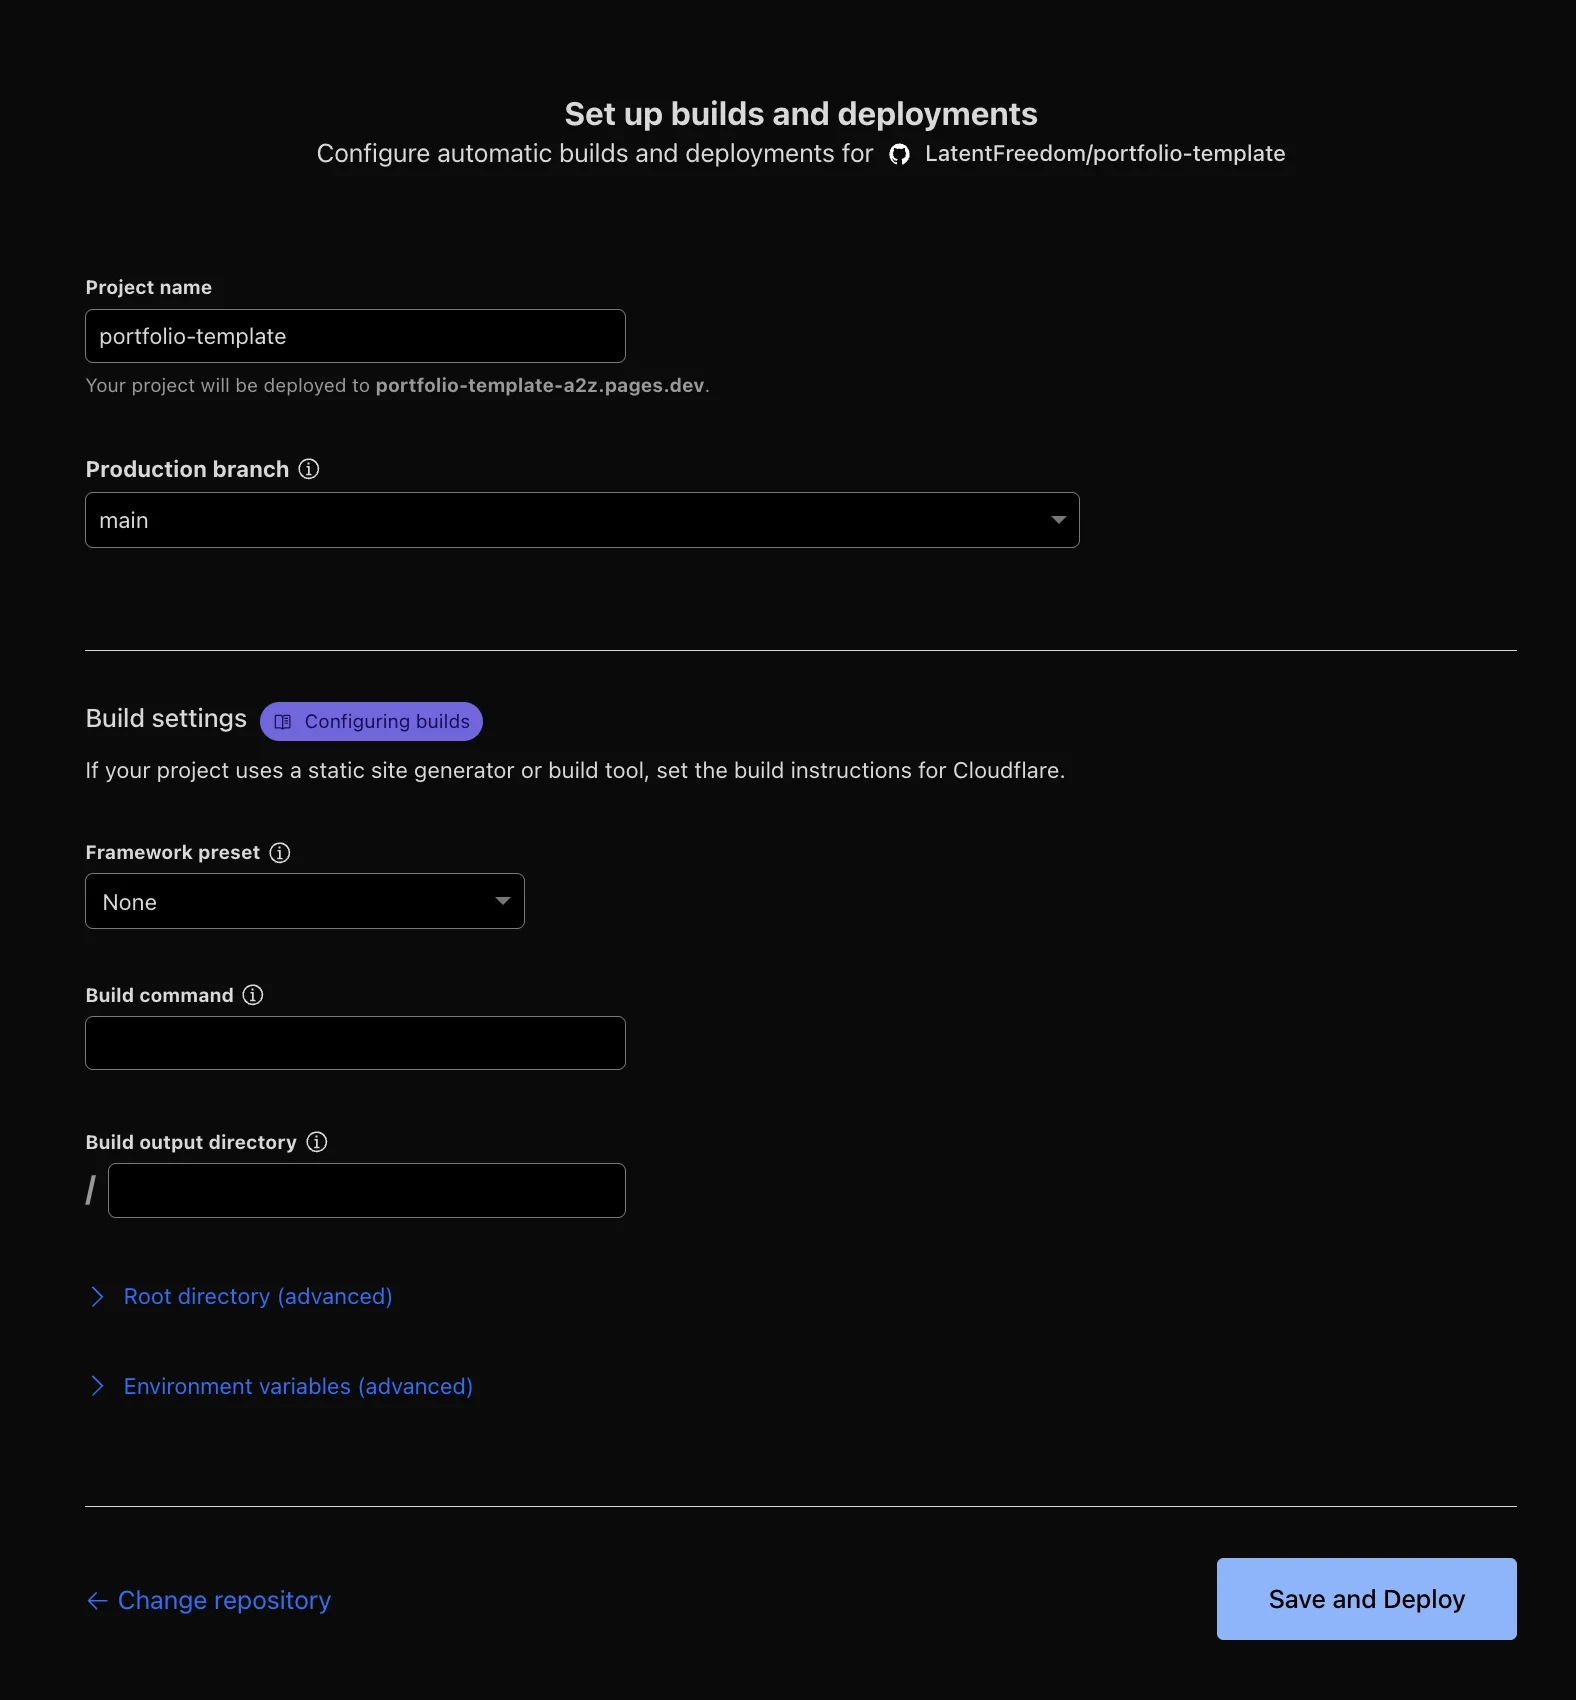
Screenshot: Cloudflare Pages build settings configuration
Deploy Your Site
Click "Save and Deploy". Cloudflare will:
- Pull your code from GitHub
- Build your website
- Deploy

Screenshot: Successful Cloudflare Pages deployment
Step 6: Purchase a Domain Name
While your site works on the .pages.dev URL, a custom domain looks more professional.
Purchase Through Cloudflare Registrar
Since you're using Cloudflare Pages, purchasing through Cloudflare Registrar simplifies setup:
- In your Cloudflare dashboard, go to "Registrar"
- Search for your desired domain name
- Add to cart and complete purchase
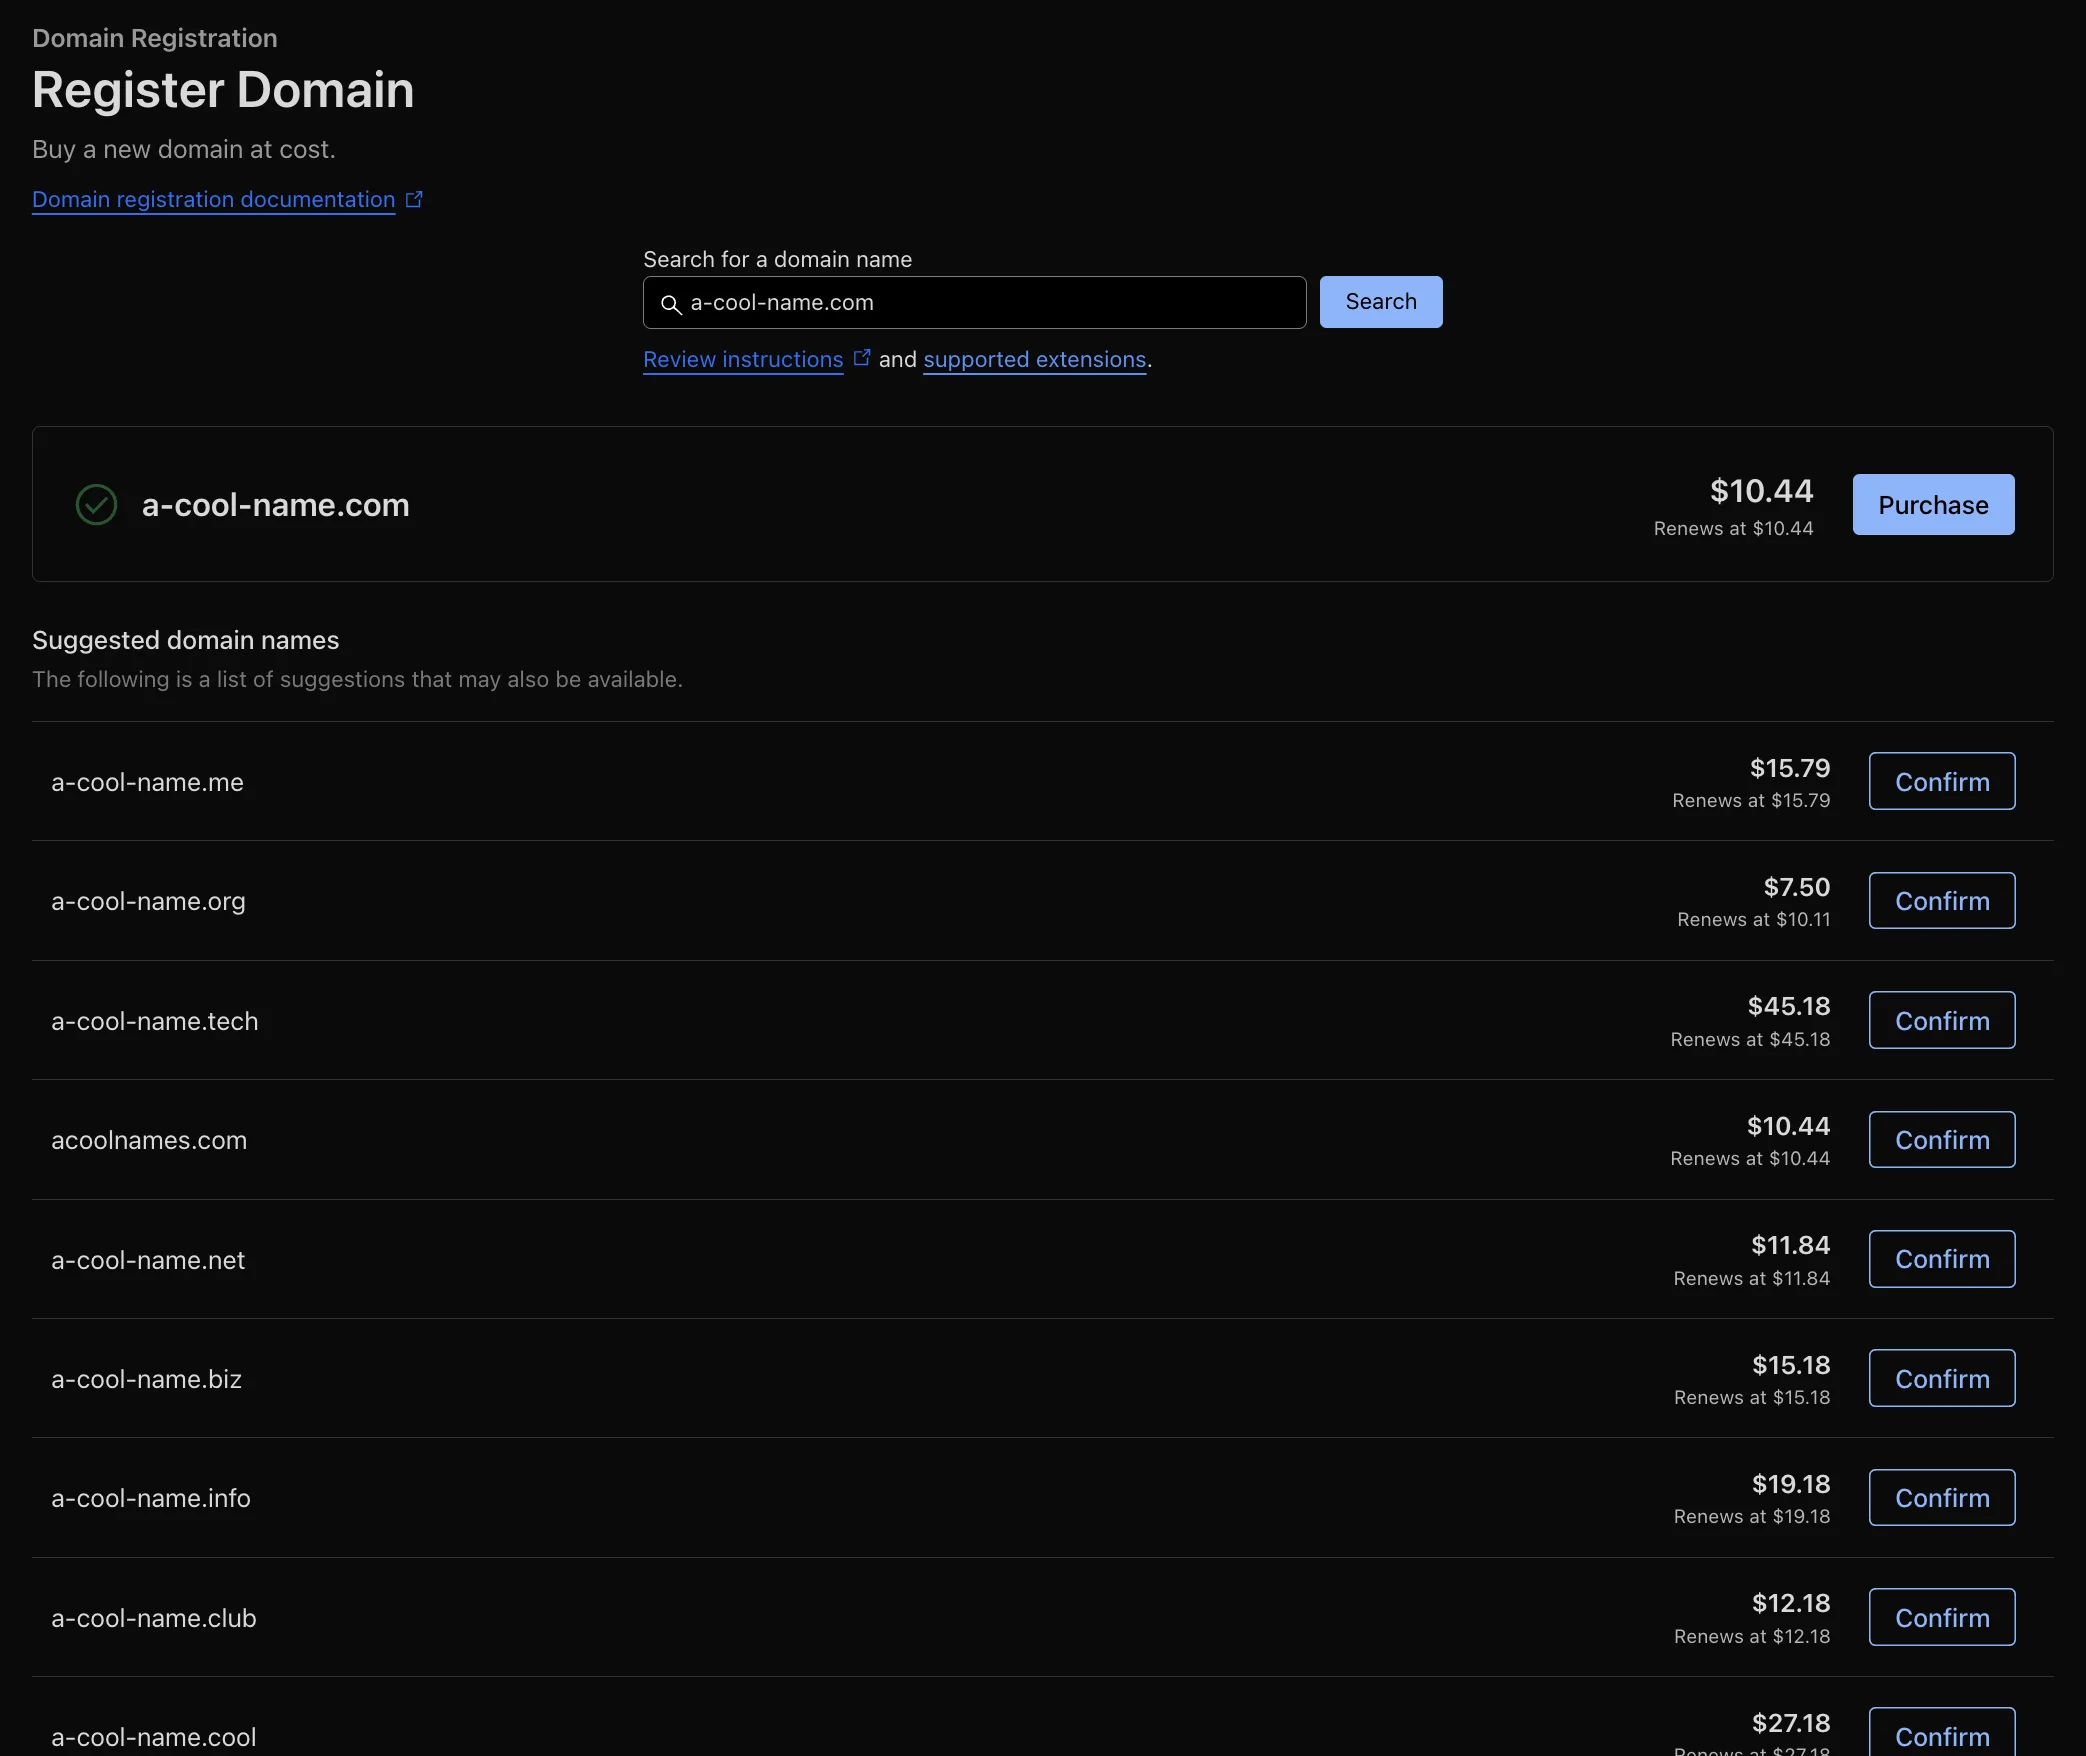
Screenshot: Cloudflare Registrar domain search
Step 7: Connect Your Domain to Cloudflare Pages
Connect your custom domain to your Cloudflare Pages deployment.
Add Custom Domain in Cloudflare Pages
- Go to your project settings
- Click "Custom domains" tab
- Click "Set up a custom domain"
- Enter your domain name (e.g.,
yourname.com) - Click "Continue"
- Click "Activate"

Screenshot: Setting up custom domain in Cloudflare Pages
Screenshot: Activate custom domain in Cloudflare Pages
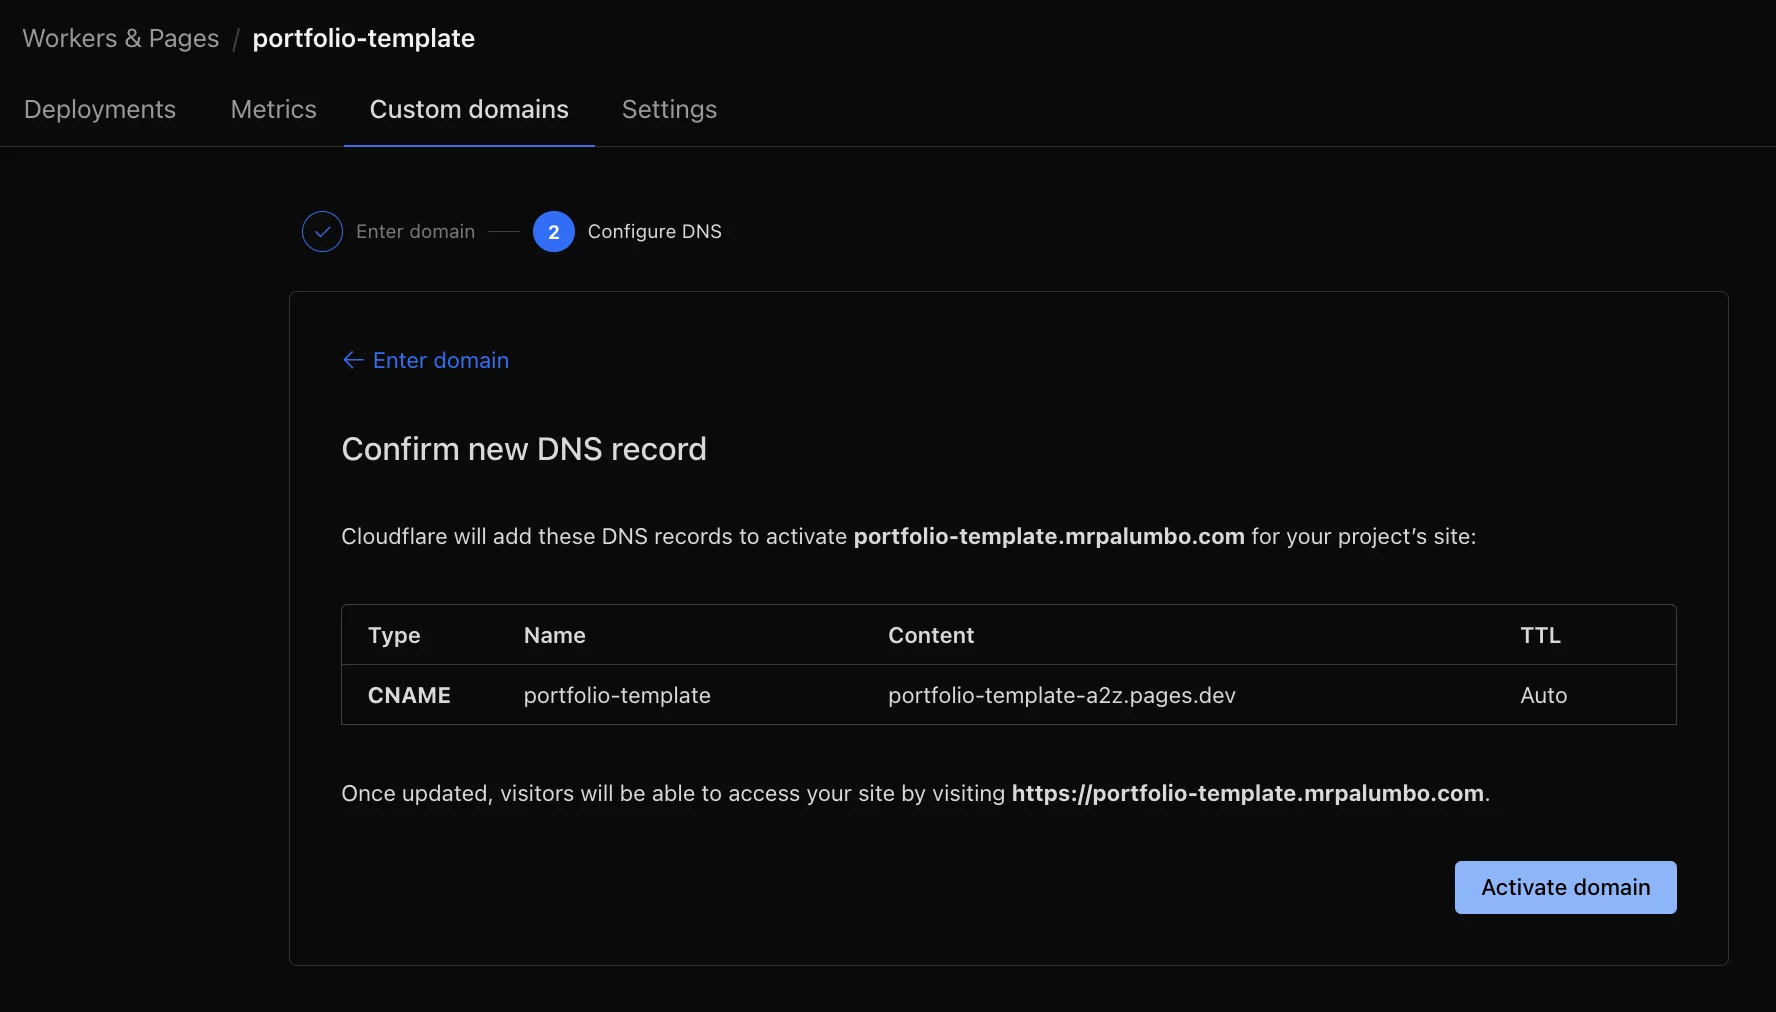
Configure DNS Settings
If purchased through Cloudflare Registrar, DNS settings are automatic. Otherwise:
- Go to your domain registrar's DNS settings
- Add a CNAME record pointing to your Cloudflare Pages URL
- Wait for DNS propagation (up to 24 hours)
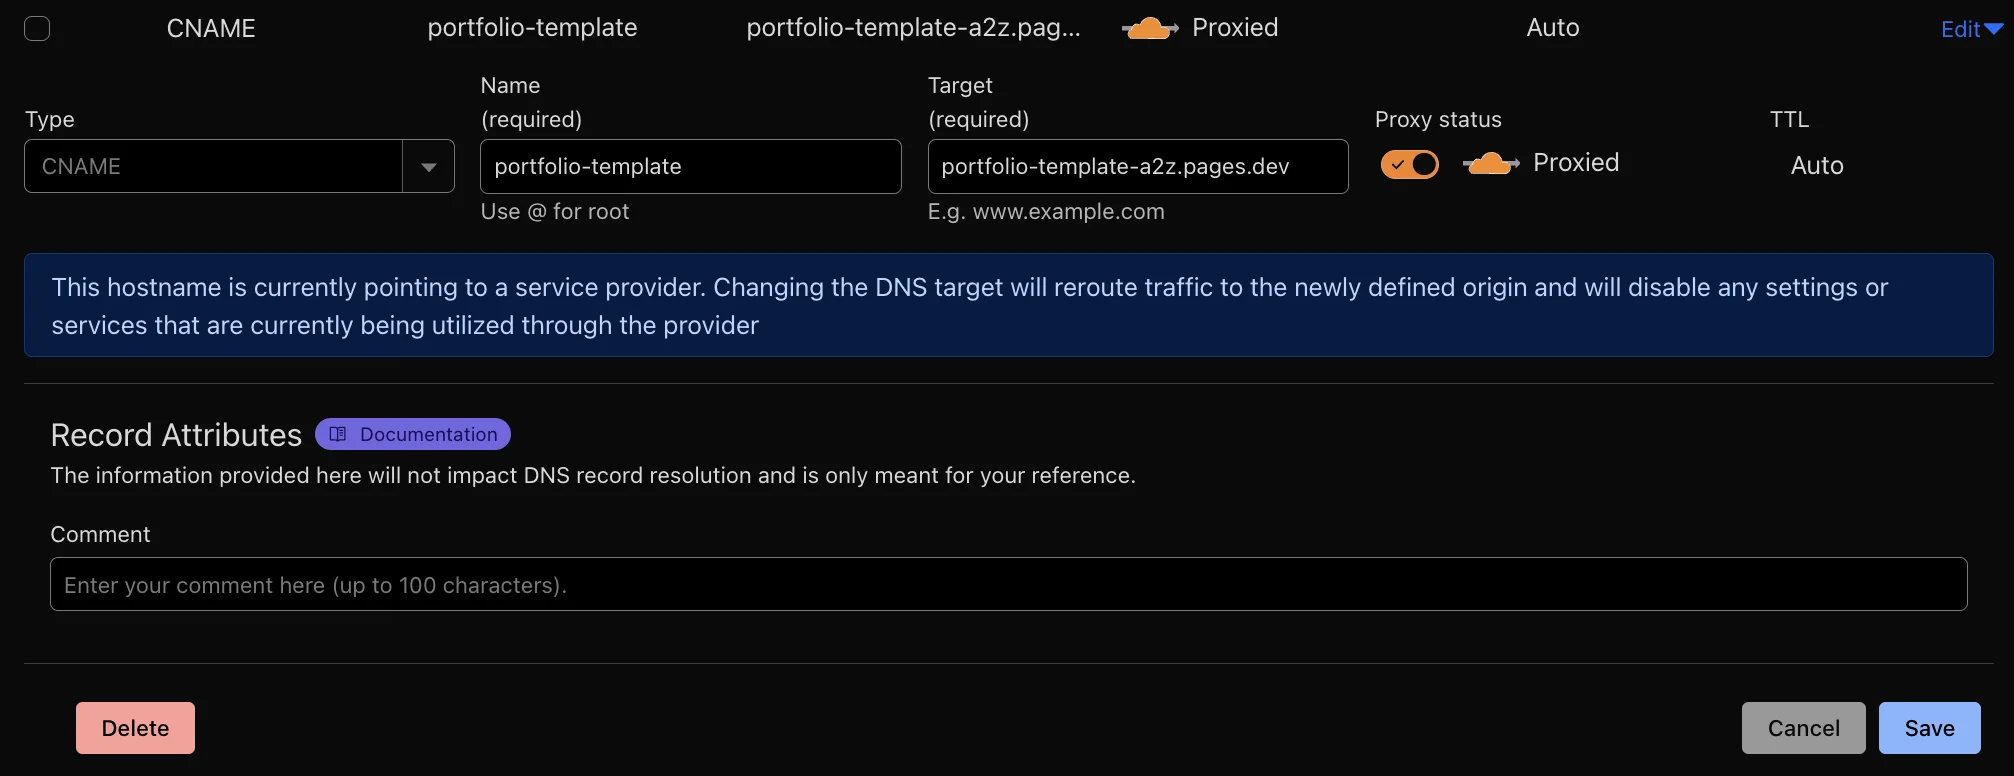
Screenshot: DNS configuration for custom domain
Test Your Website
- Wait a few minutes for changes to propagate
- Visit your custom domain (e.g.,
https://yourname.com)
Congratulations! You're Live!
You've successfully created and deployed your portfolio website:
- ✅ GitHub repository for version control
- ✅ Professional portfolio website
- ✅ Deployed to Cloudflare Pages (free hosting)
- ✅ Connected custom domain name
- ✅ Established online presence as a developer
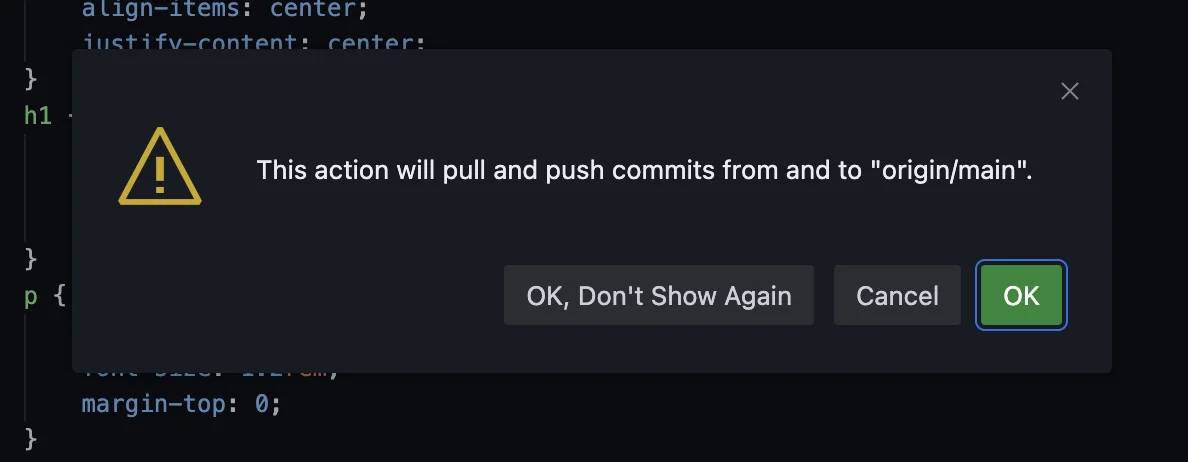
Making Updates
To update your website, edit the index.html file in your GitHub repository, commit, and push. Cloudflare will automatically deploy your changes.

Screenshot: Push to production
Next Steps
Enhance your portfolio:
- Add projects: Include new projects as you build them
- Improve design: Experiment with colors, layouts, and animations
- Add blog section: Share your thoughts on technology
- Include contact form: Make it easy for employers to reach you
- Optimize for mobile: Ensure great experience on all devices